Azure FunctionsをGithub Actionsを使ってデプロイする
たぶんこの件に関する記事は書いてなかったと思います。
以下リポジトリをデプロイします。
https://github.com/xiaotiantakumi/az-samples/tree/main/azfunc-keyvault-sample
以前は関数アプリのリソースを作成後に設定していましたが、作成時にもGitHubのアカウント連携設定ができるようになってました。
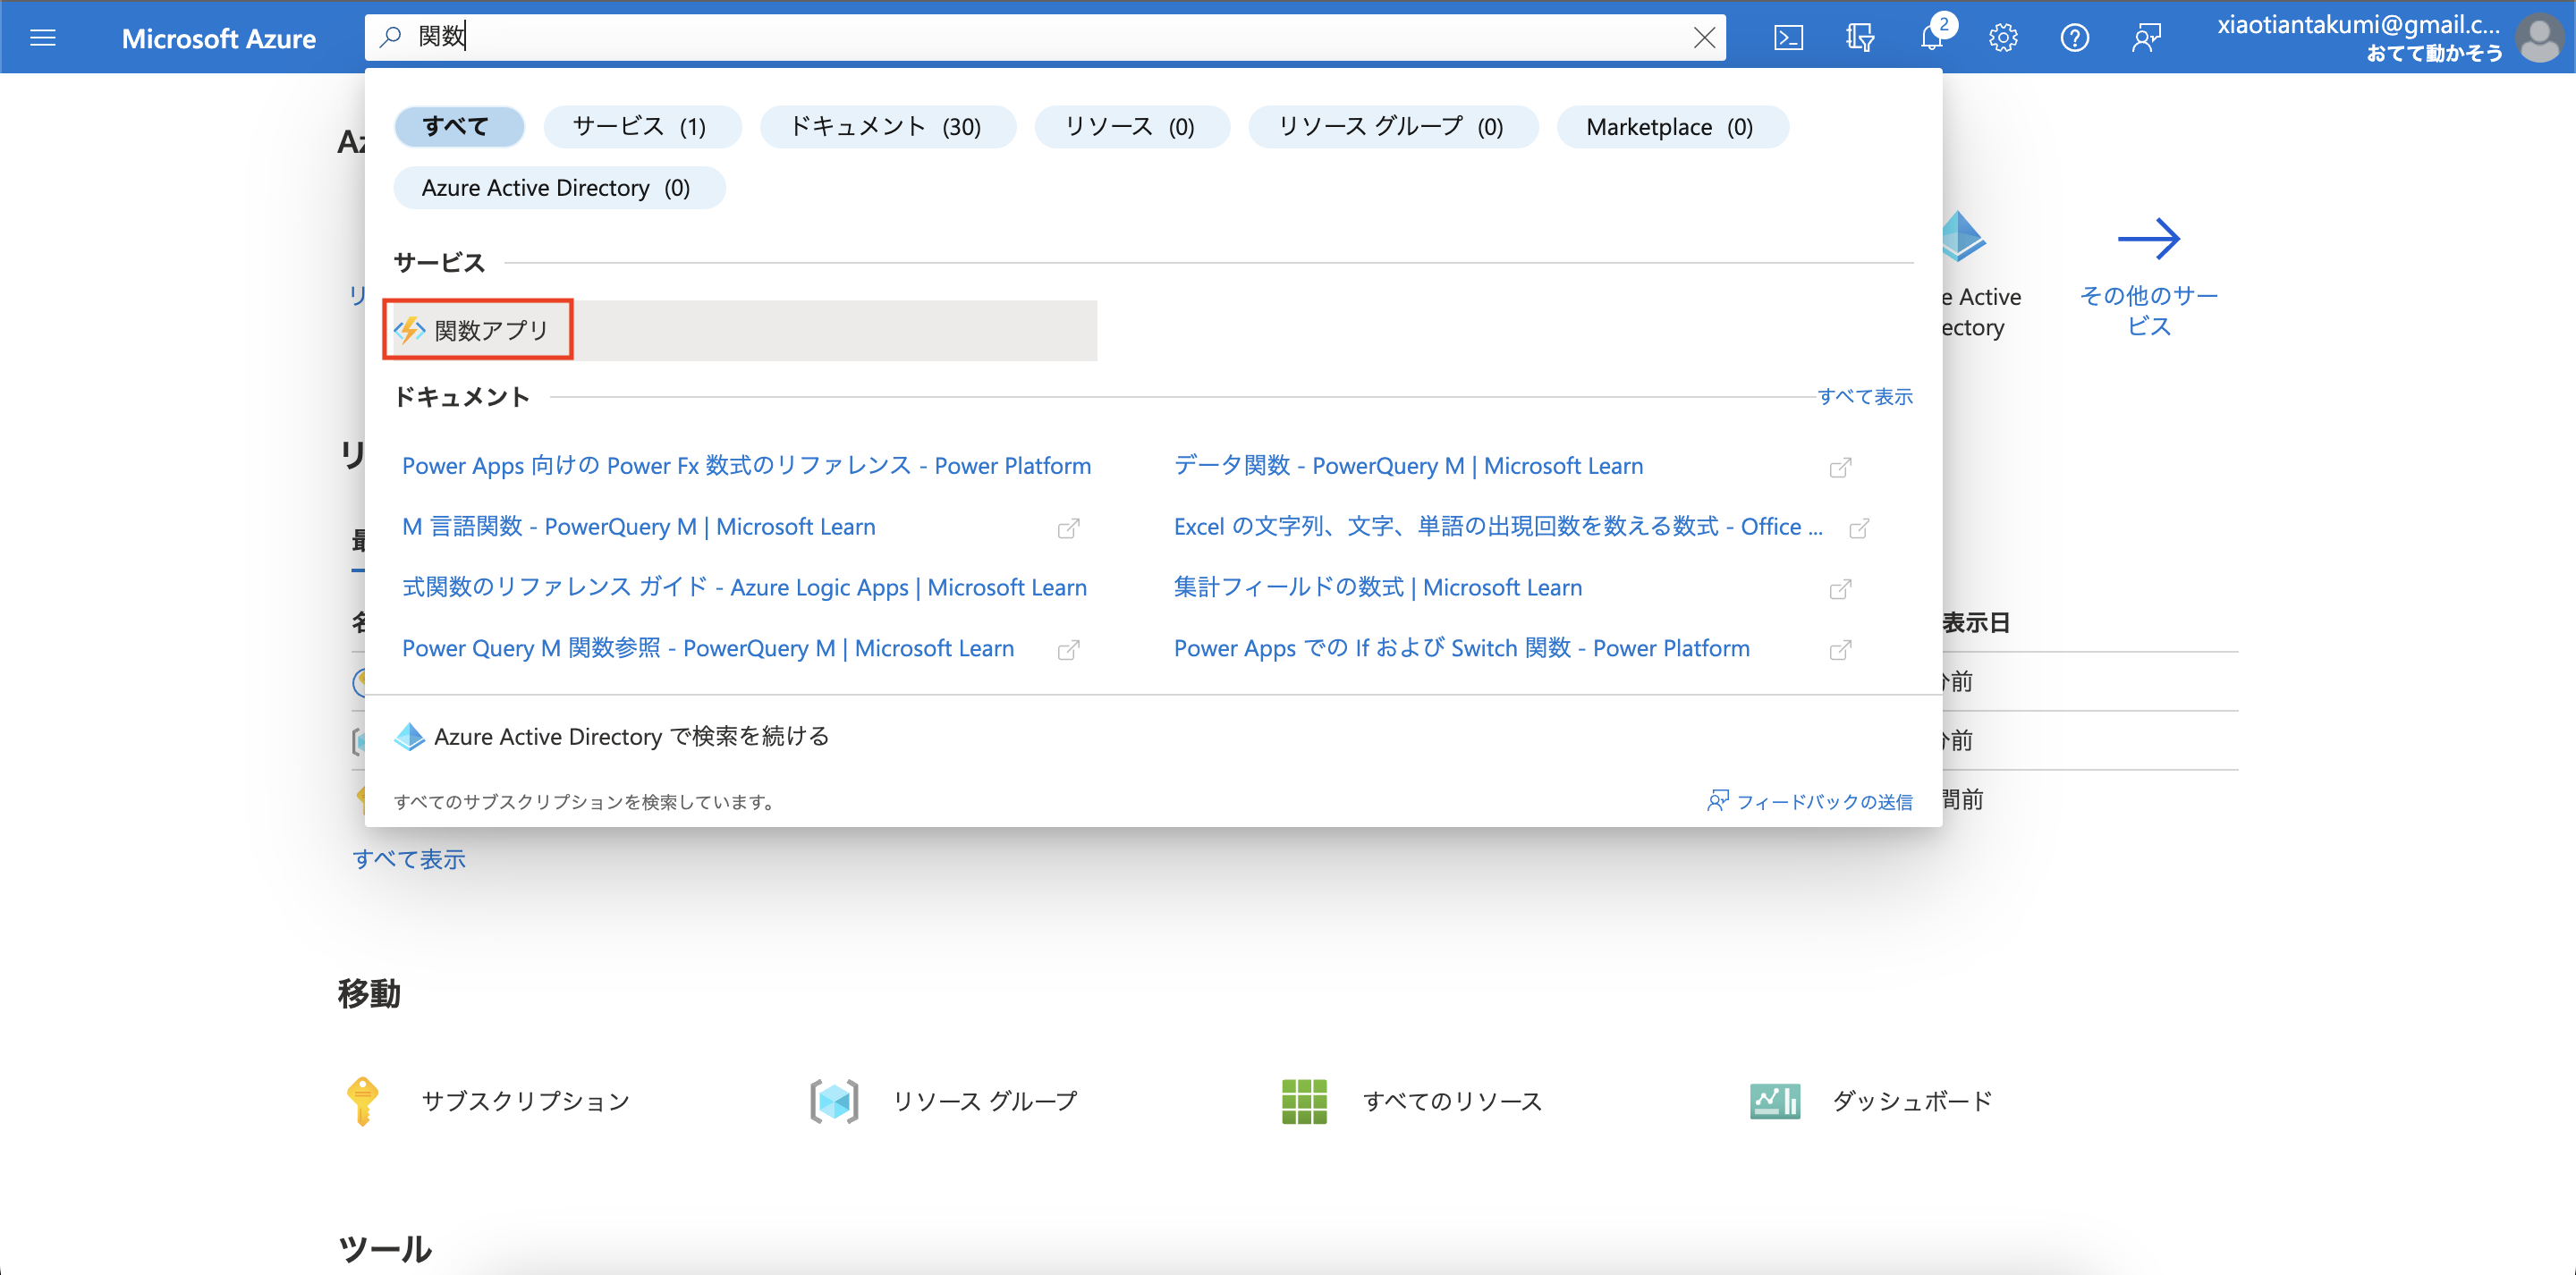
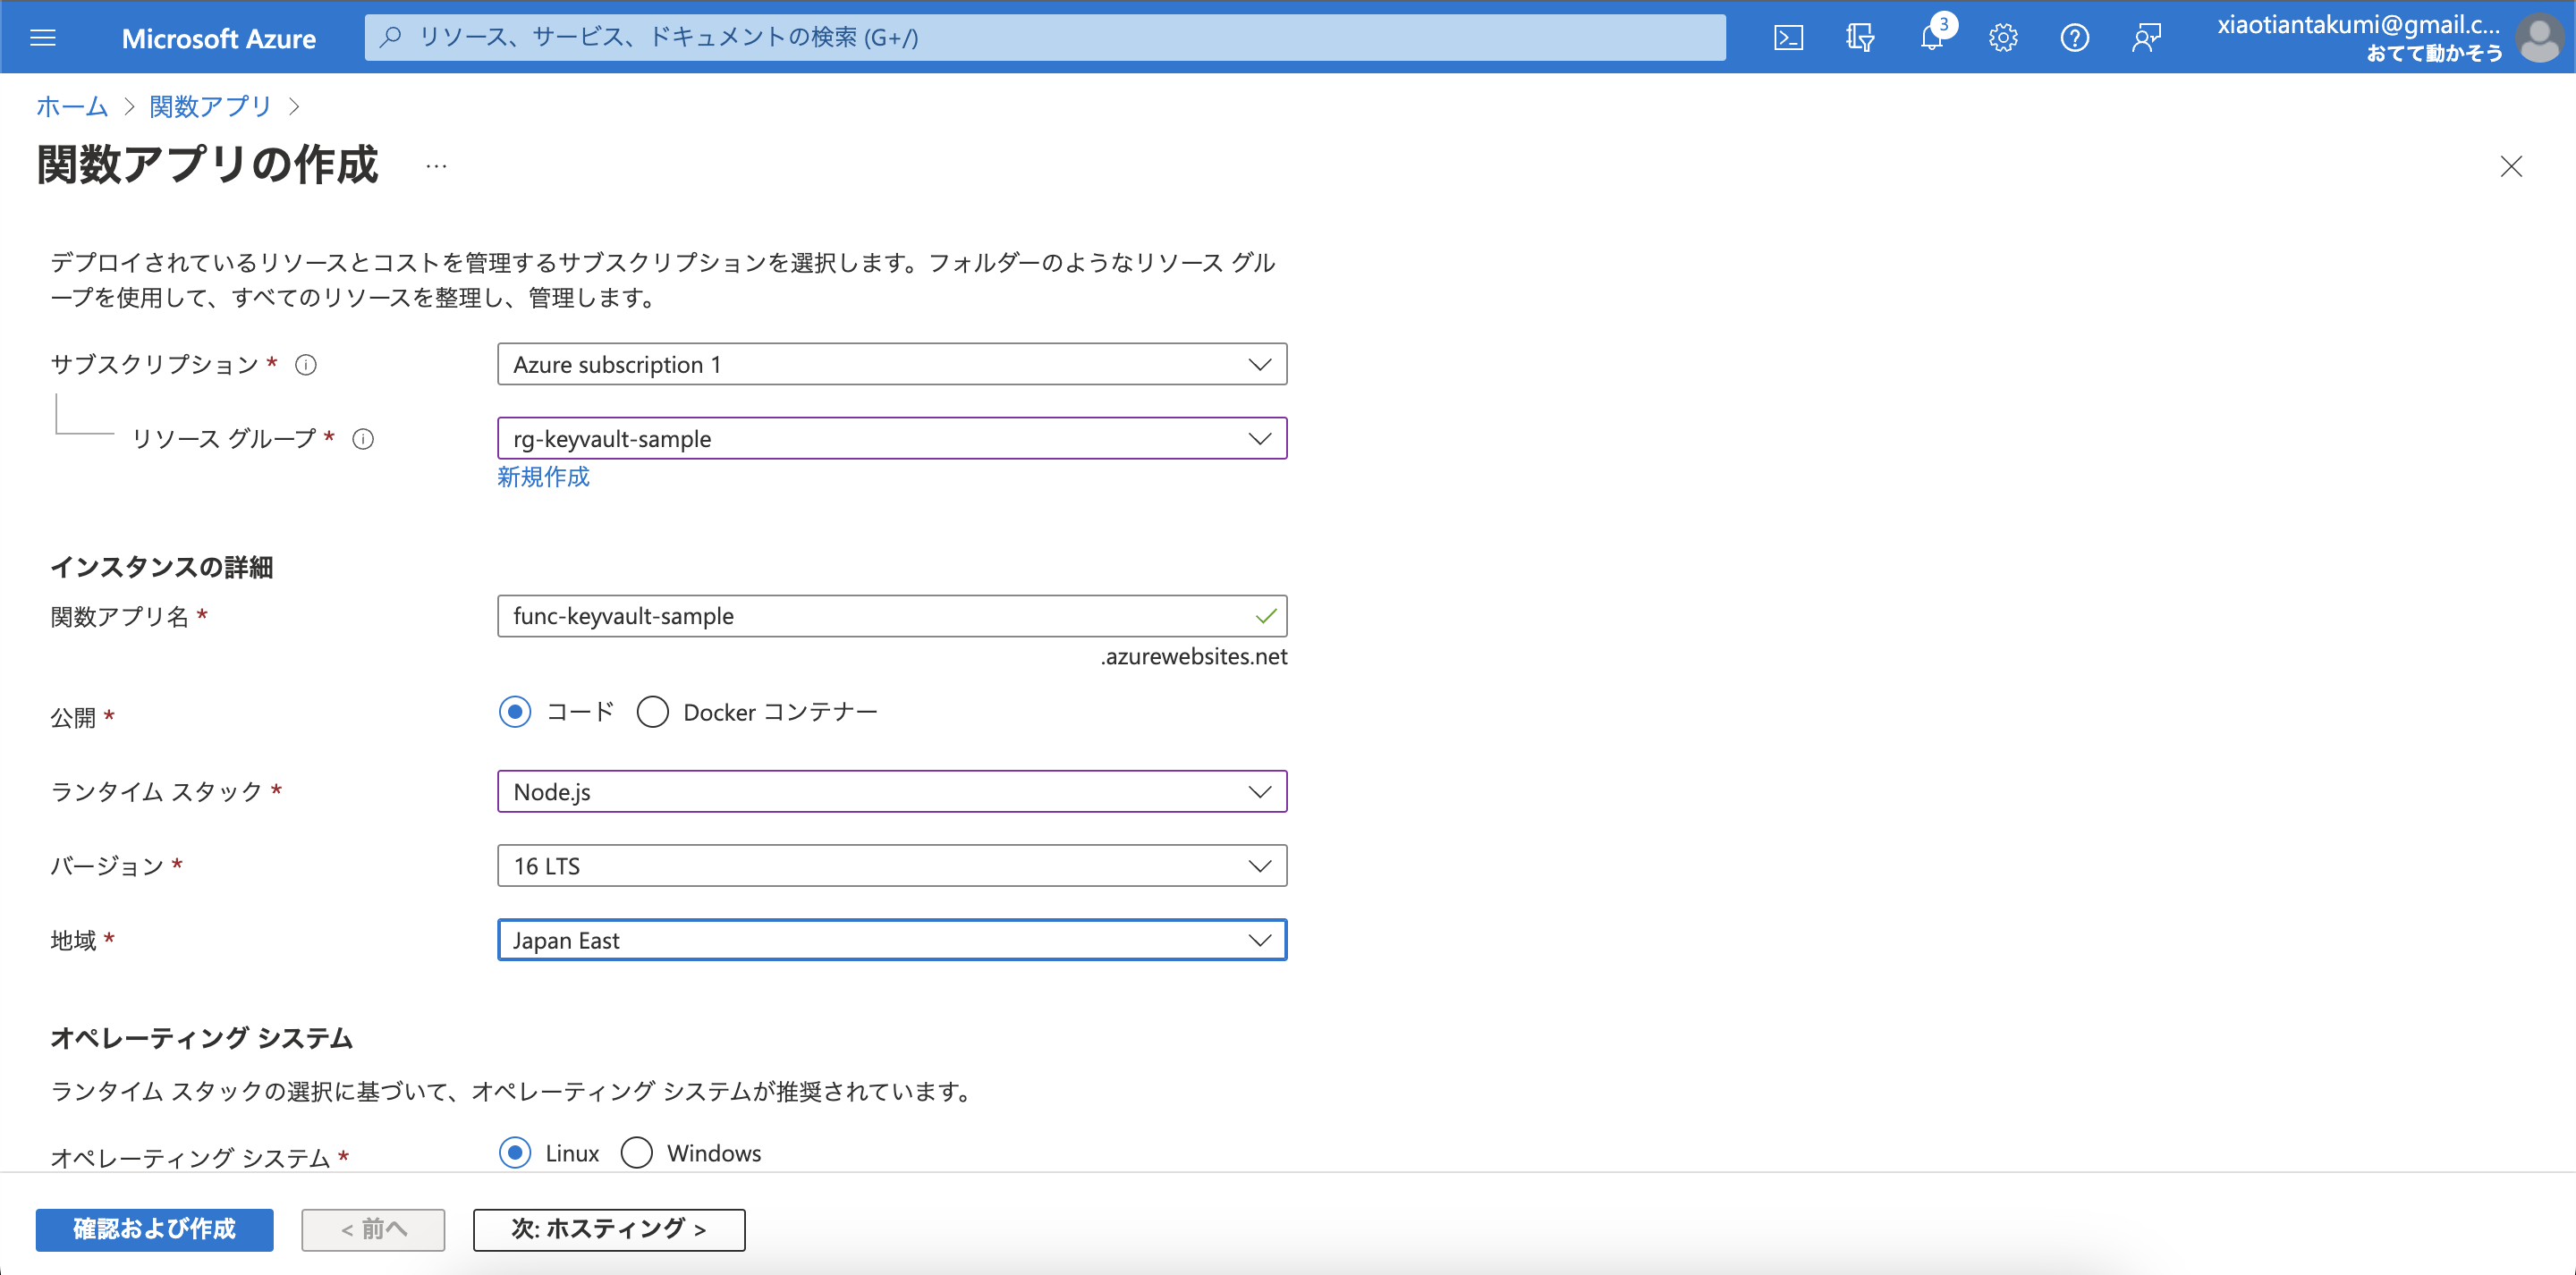
まずは関数アプリリソースを作成します。
入力内容としては以下のようにしています。リソースグループは新規作成でオッケーです。ここでは、key vaultコンテナ作成時に作っていたのでそれを使ってます。
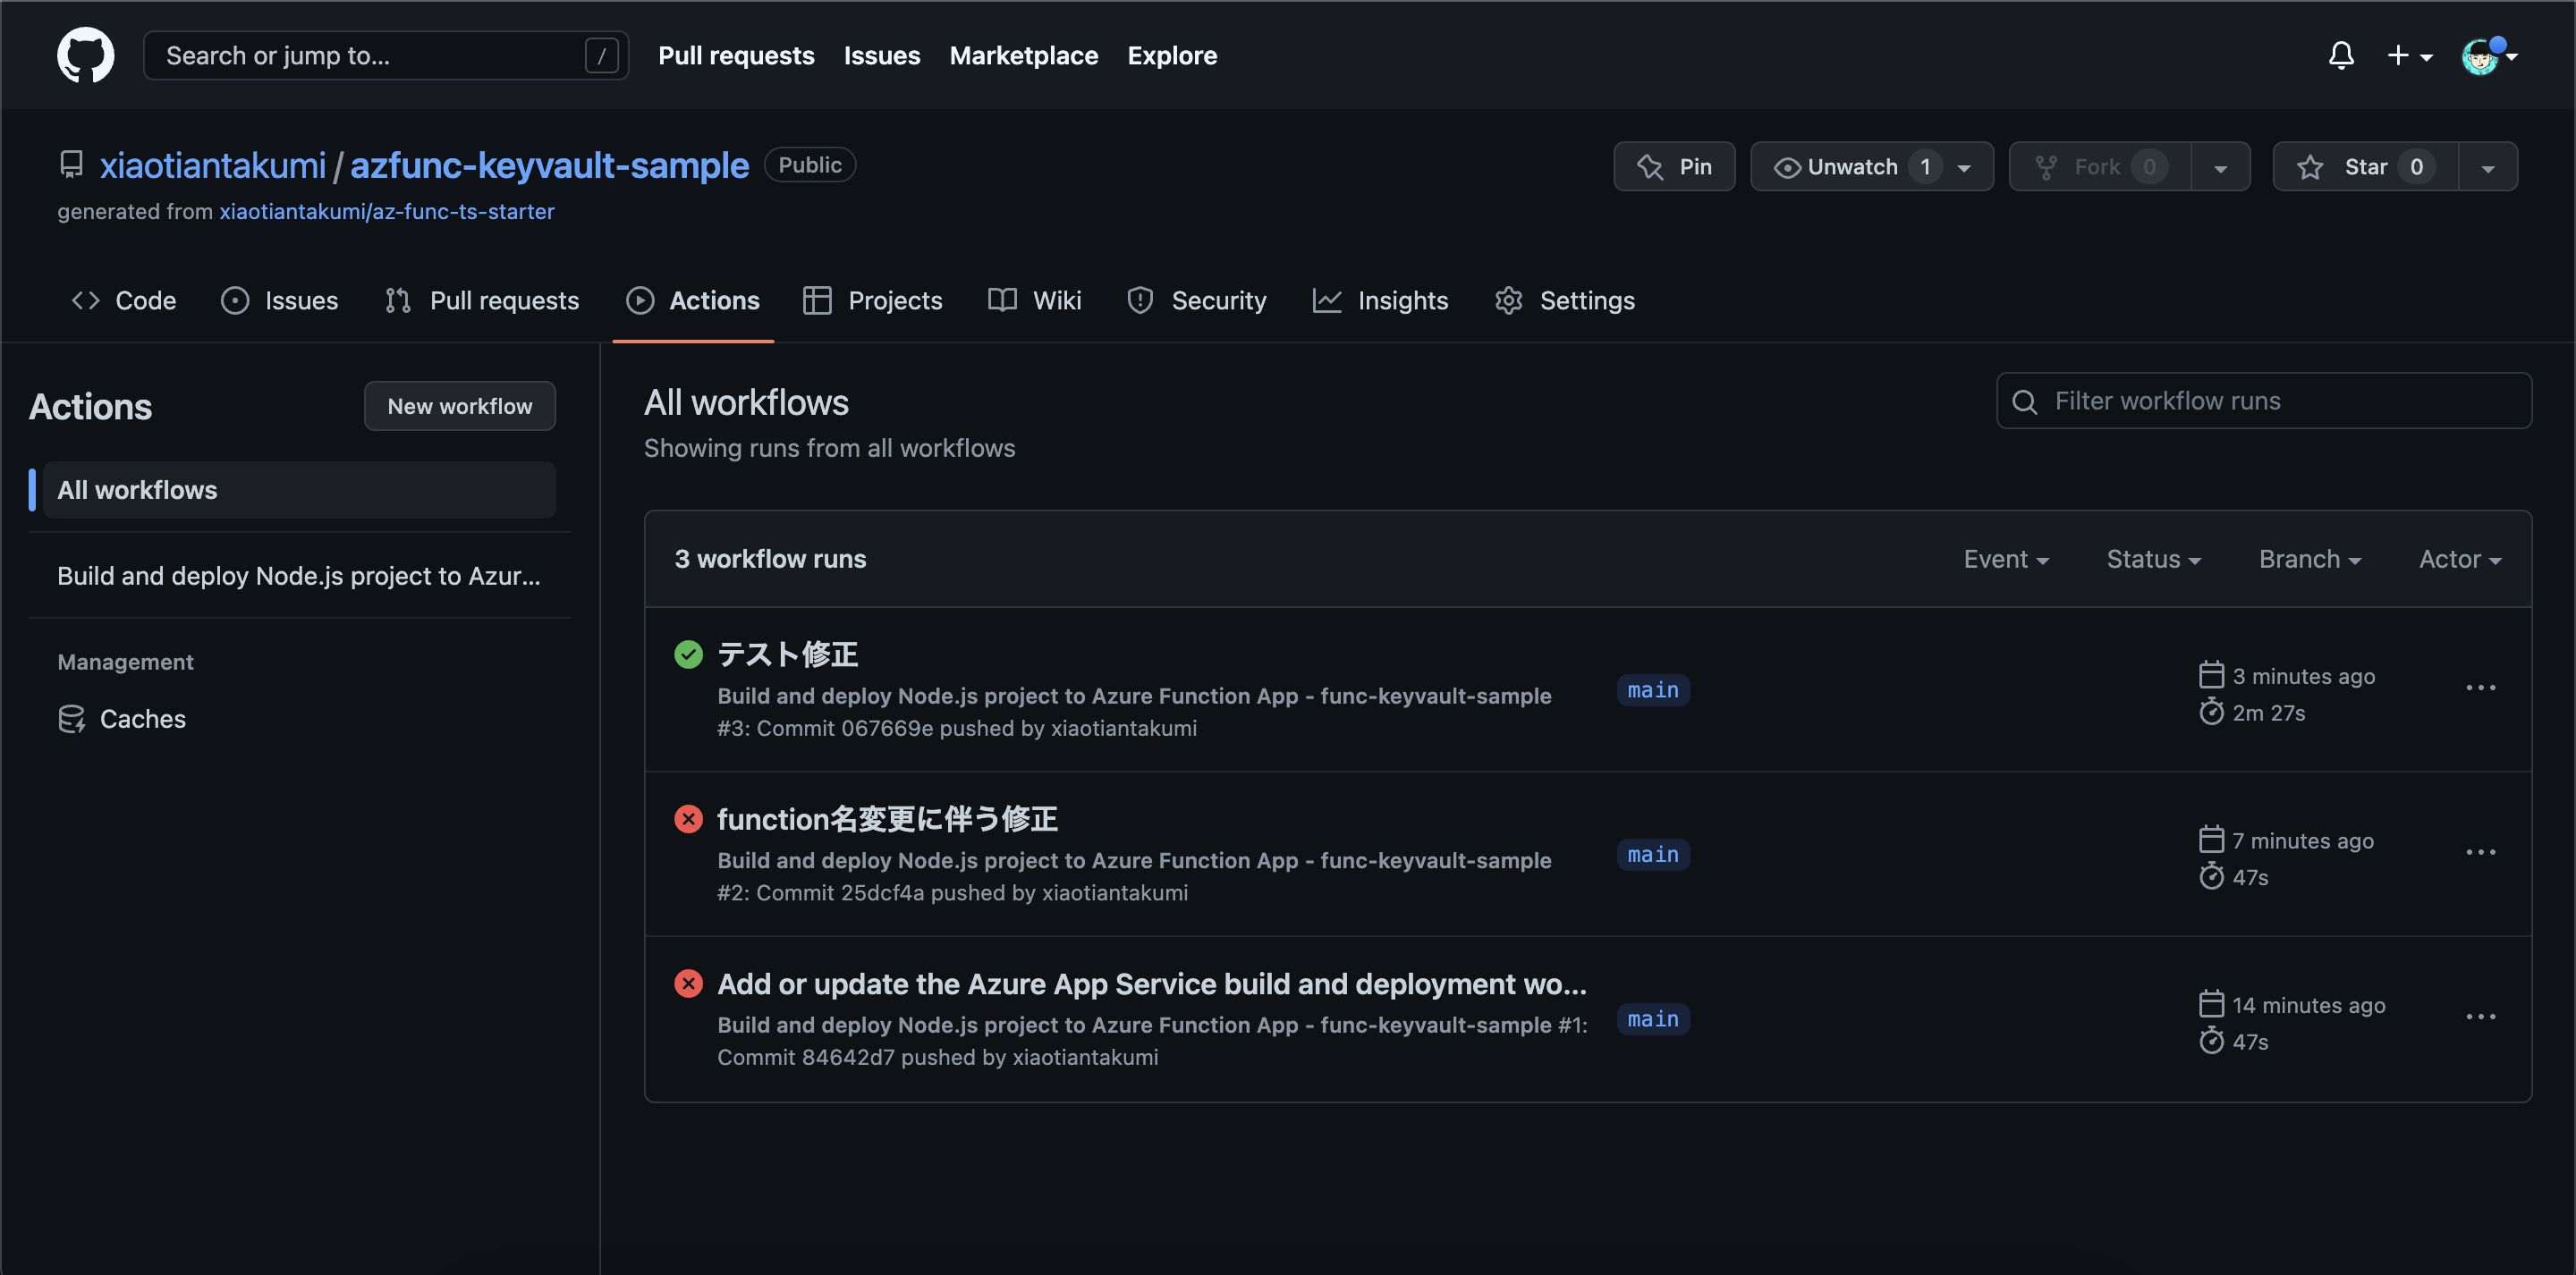
リソースのデプロイが完了すると、GitHub Actionが走り出します。デプロイされたことを確認します。
ちょっとミスって失敗してますが。。
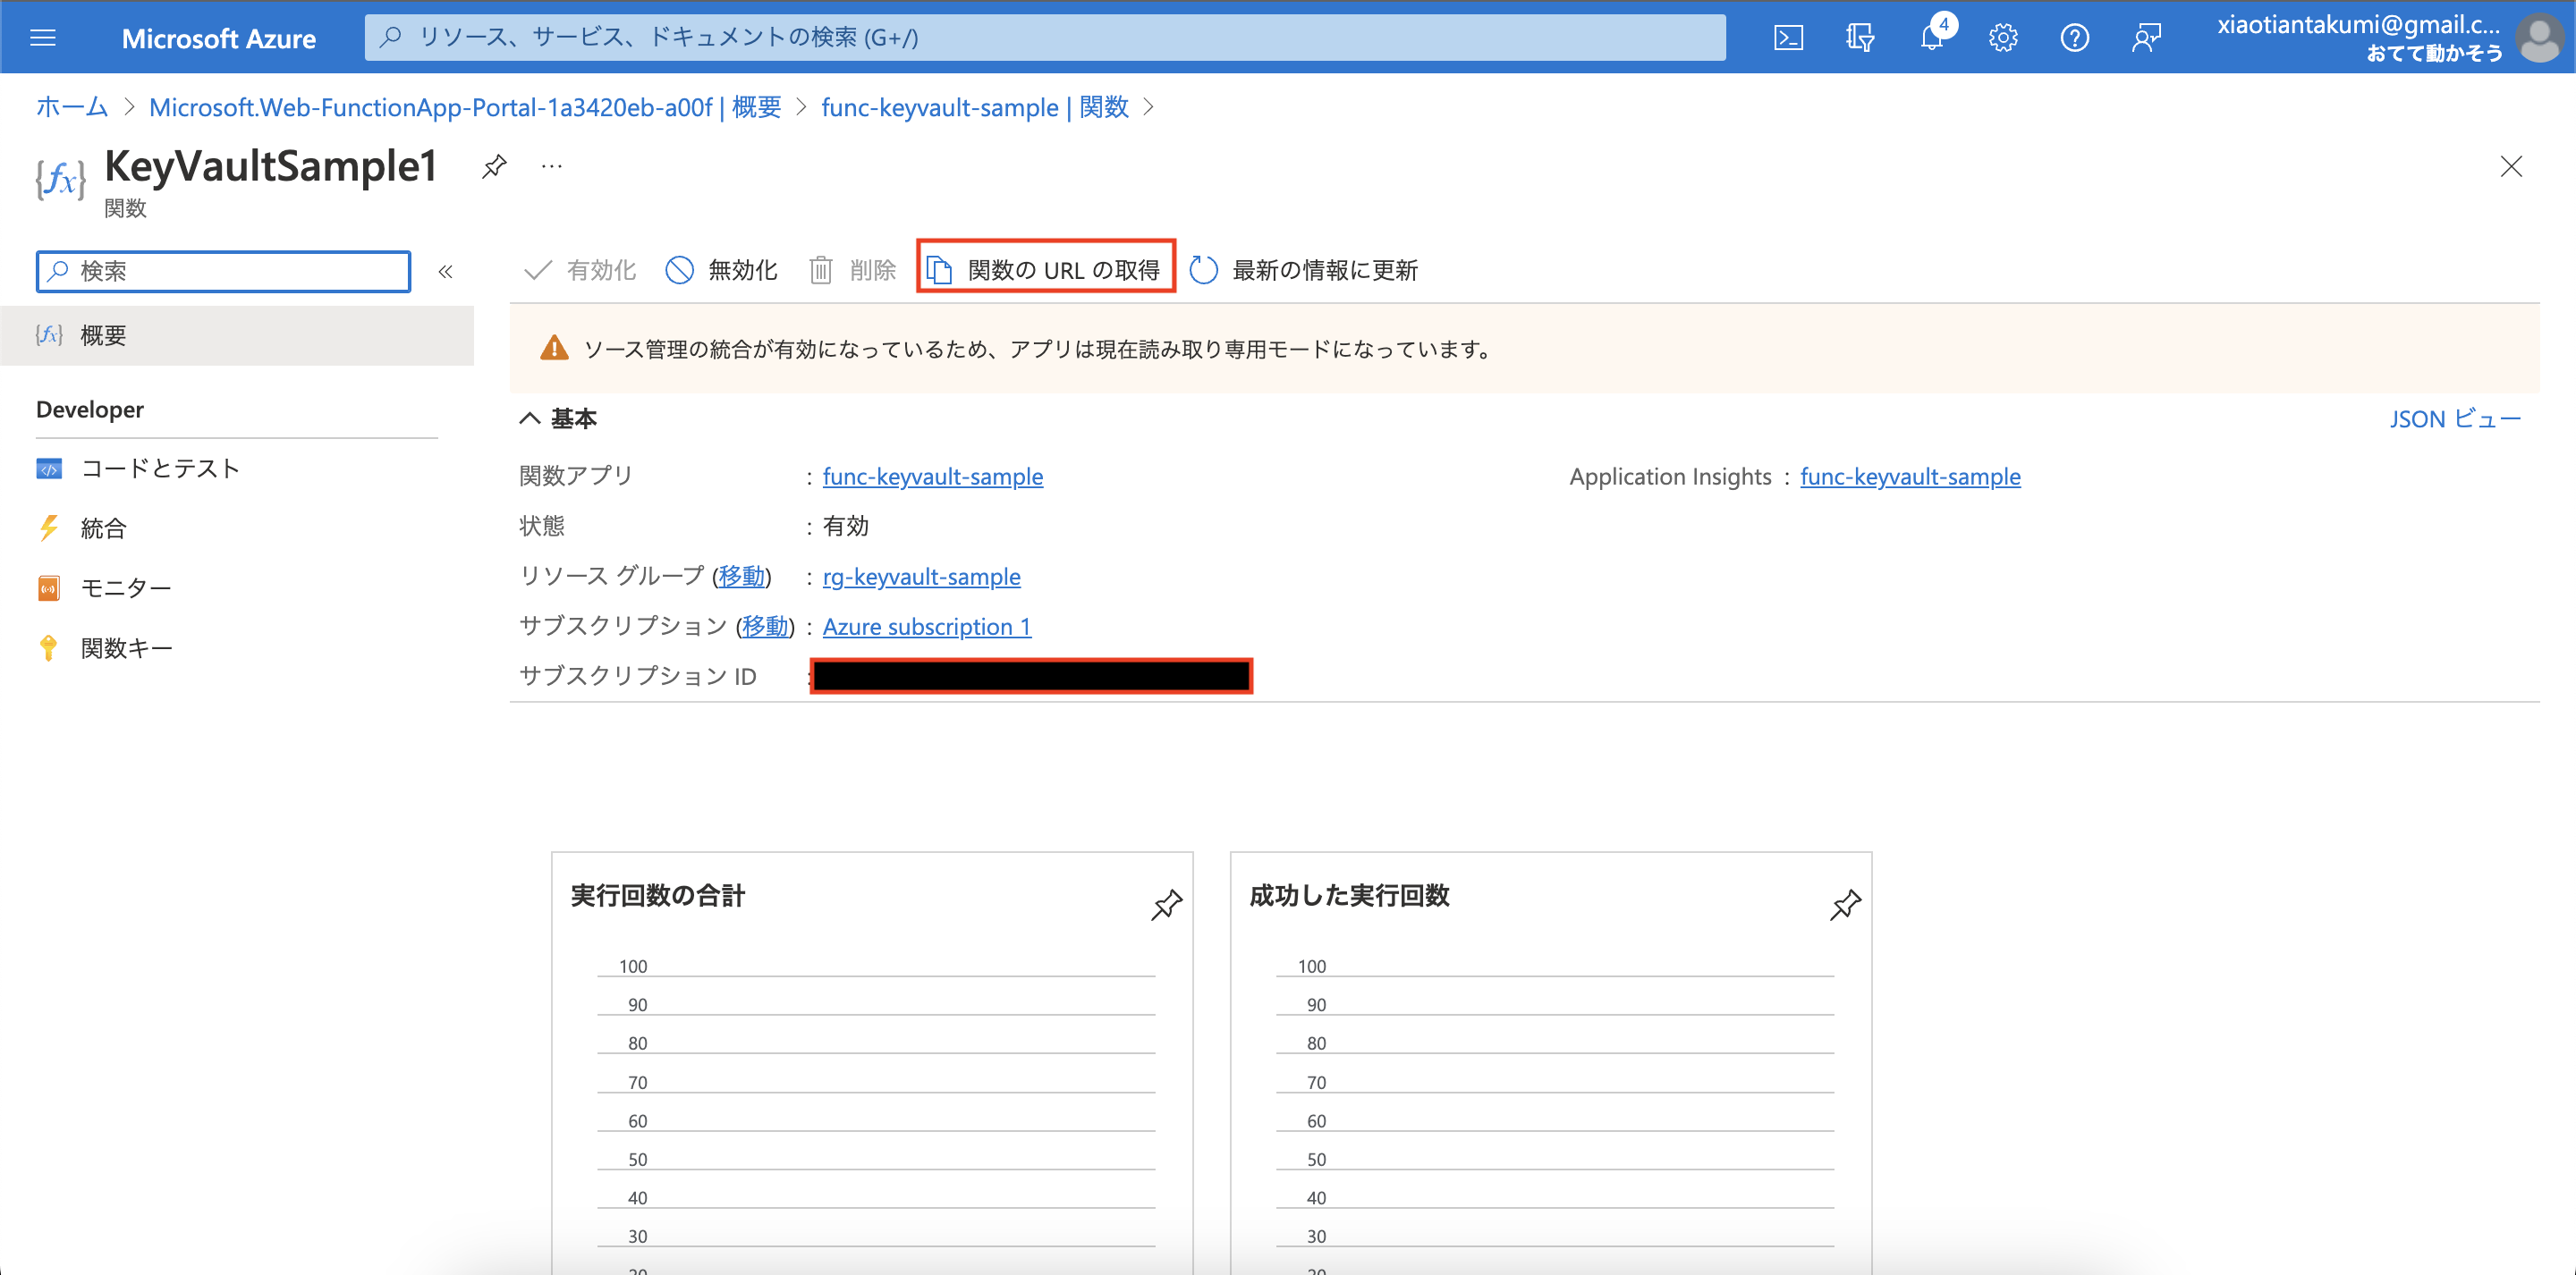
デプロイされたら関数を実行してみます。関数を選択します。

名称から作成した関数を選びます。

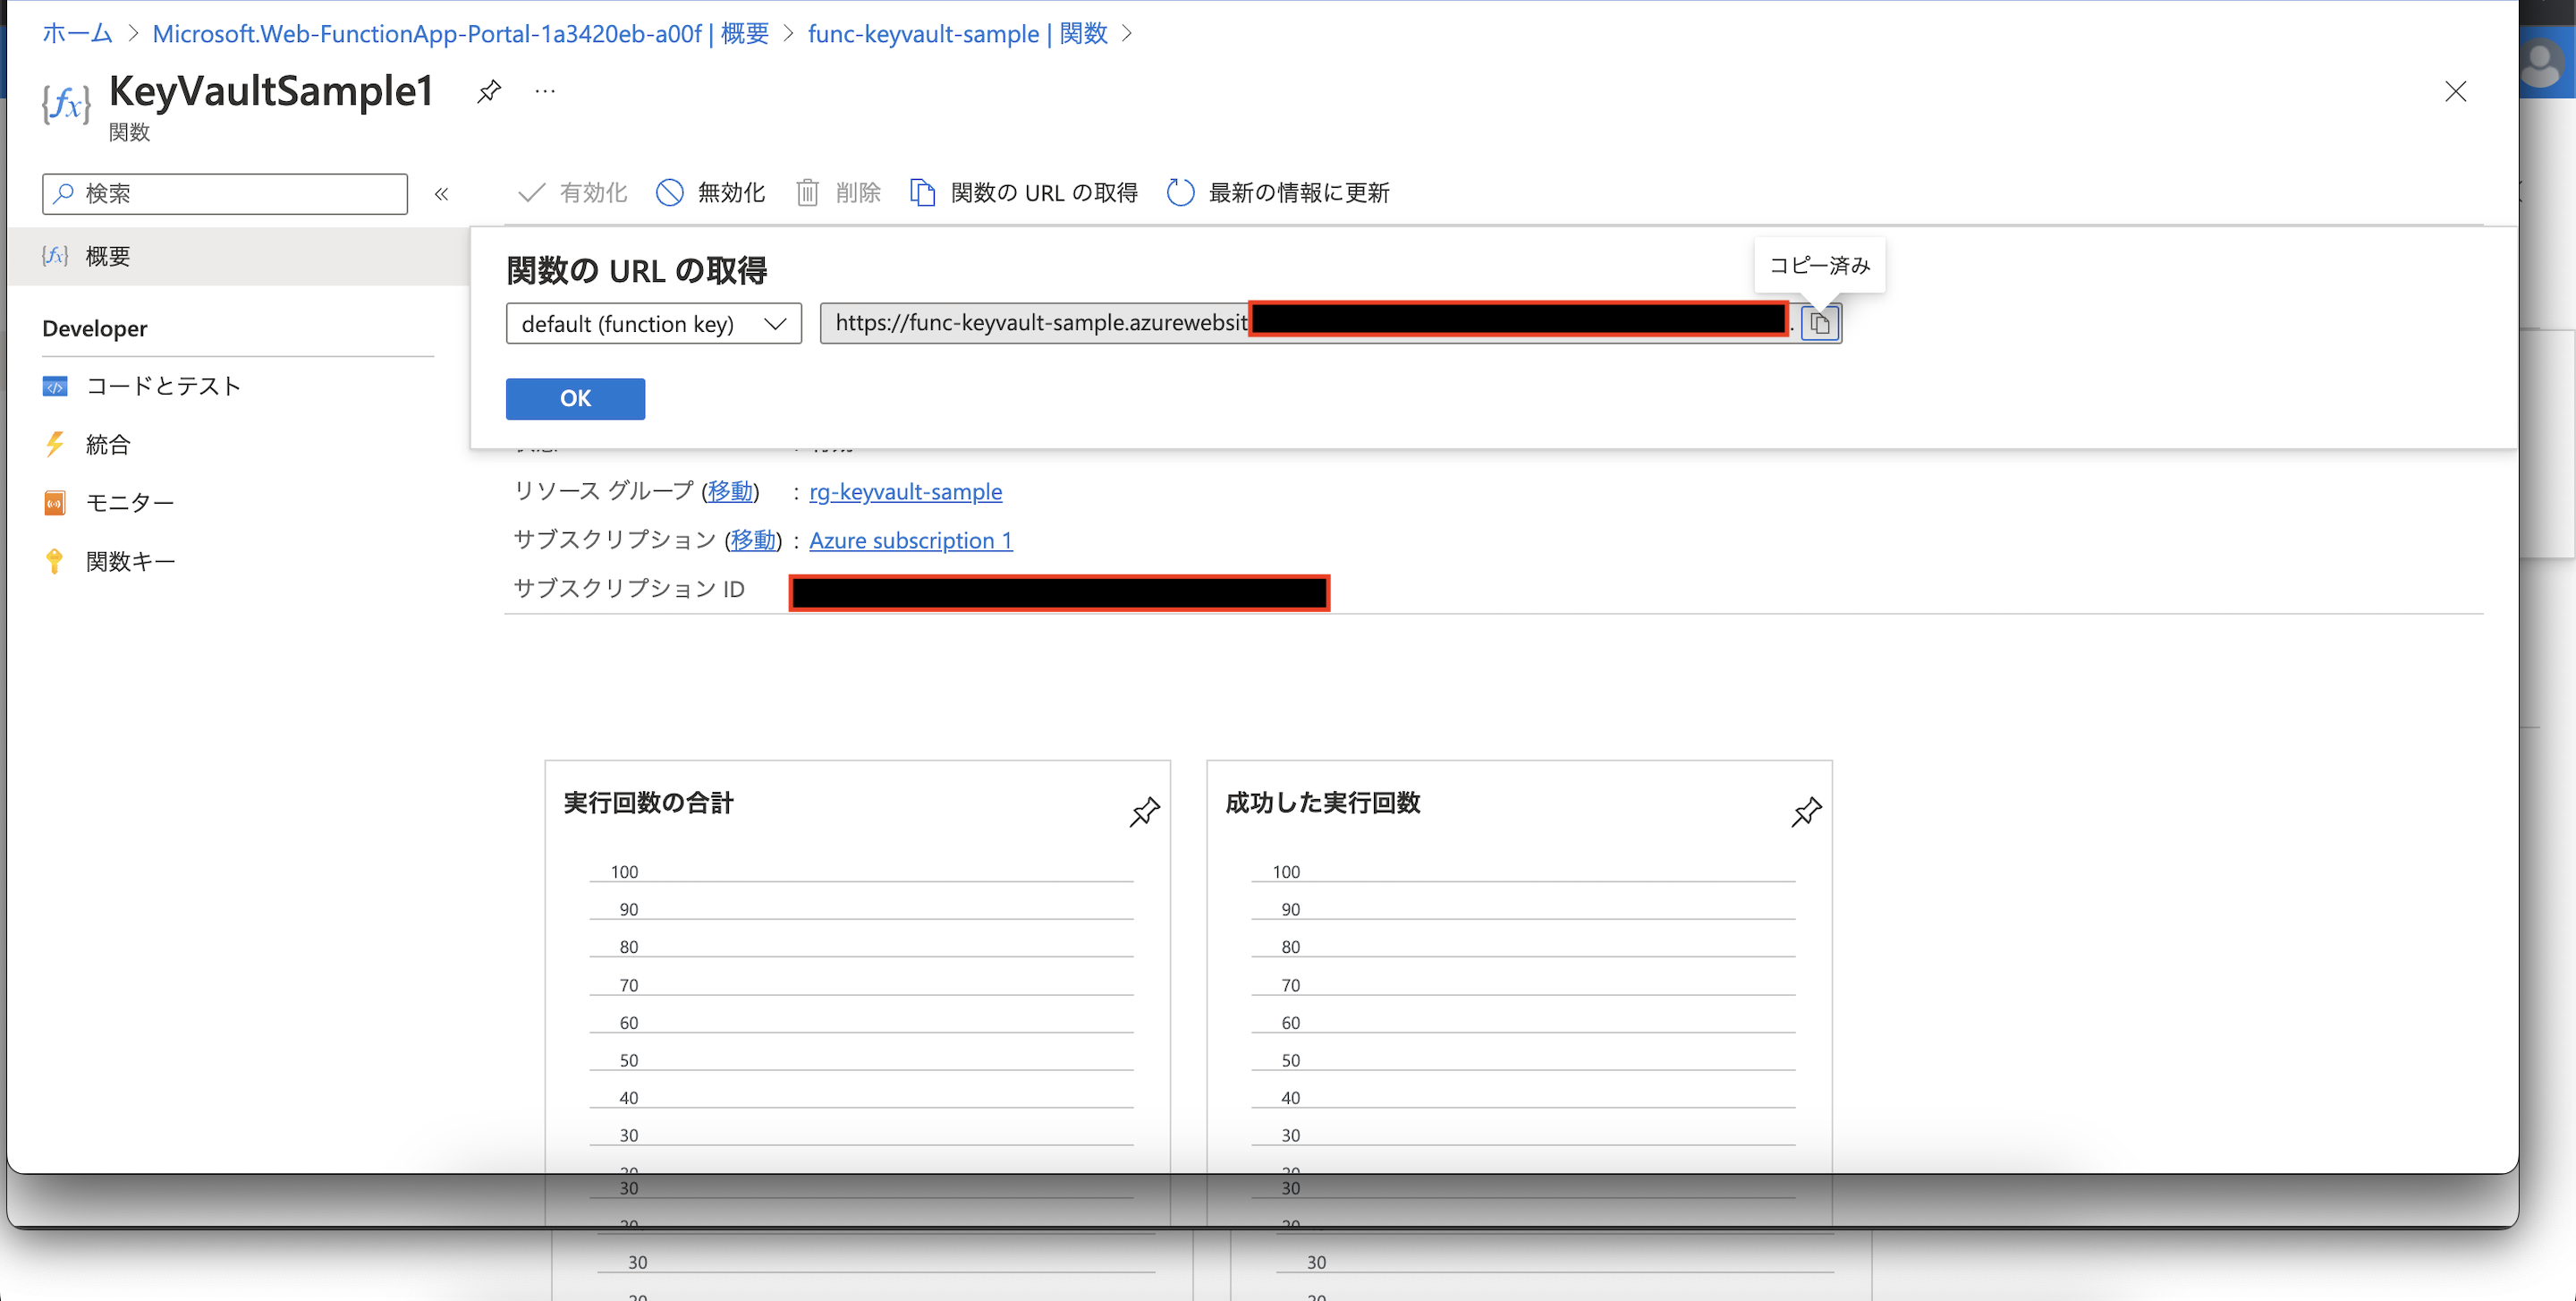
関数のエンドポイントとなるURLを取得します。
URLをコピペしてブラウザとかで確認します。
ただ、今の状態だと構成情報を設定していないのでbodyに何も入って来ません。ソースは以下の通りで、構成情報の値を出力するようにしています。
import { AzureFunction, Context, HttpRequest } from "@azure/functions";
const httpTrigger: AzureFunction = async function (
  context: Context,
  req: HttpRequest
): Promise<void> {
  const secret = process.env.KEY_VAULT_SECRET;
  context.res = {
    status: 200,
    body: secret,
  };
};
export default httpTrigger;
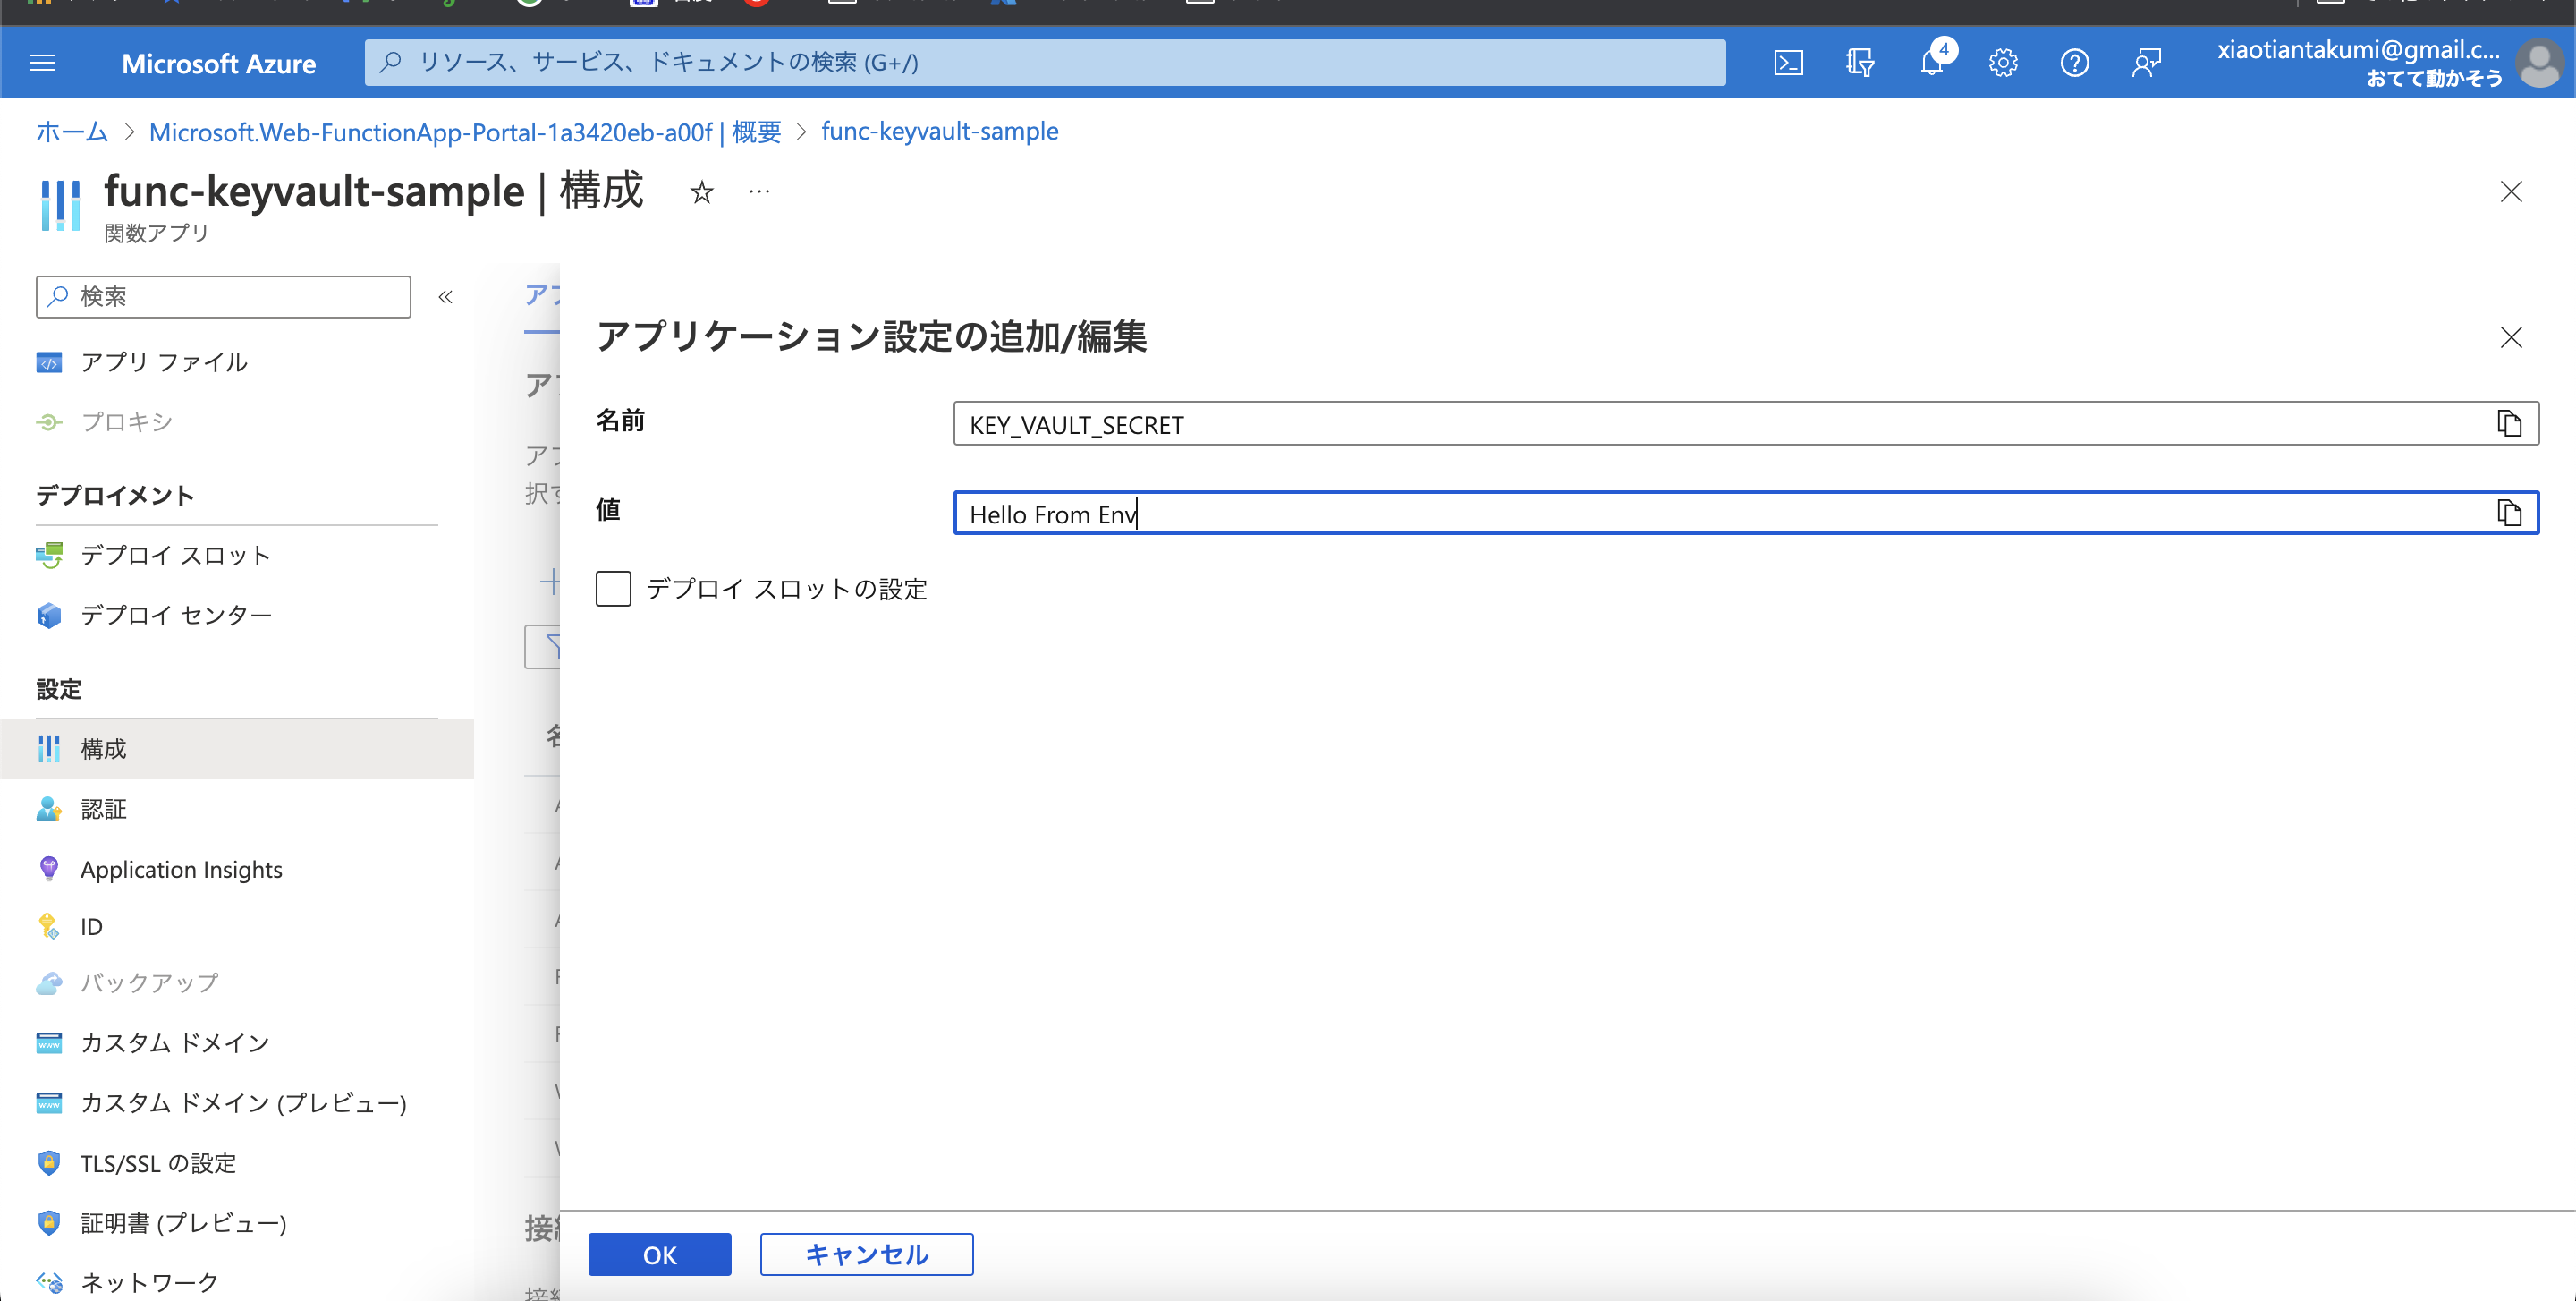
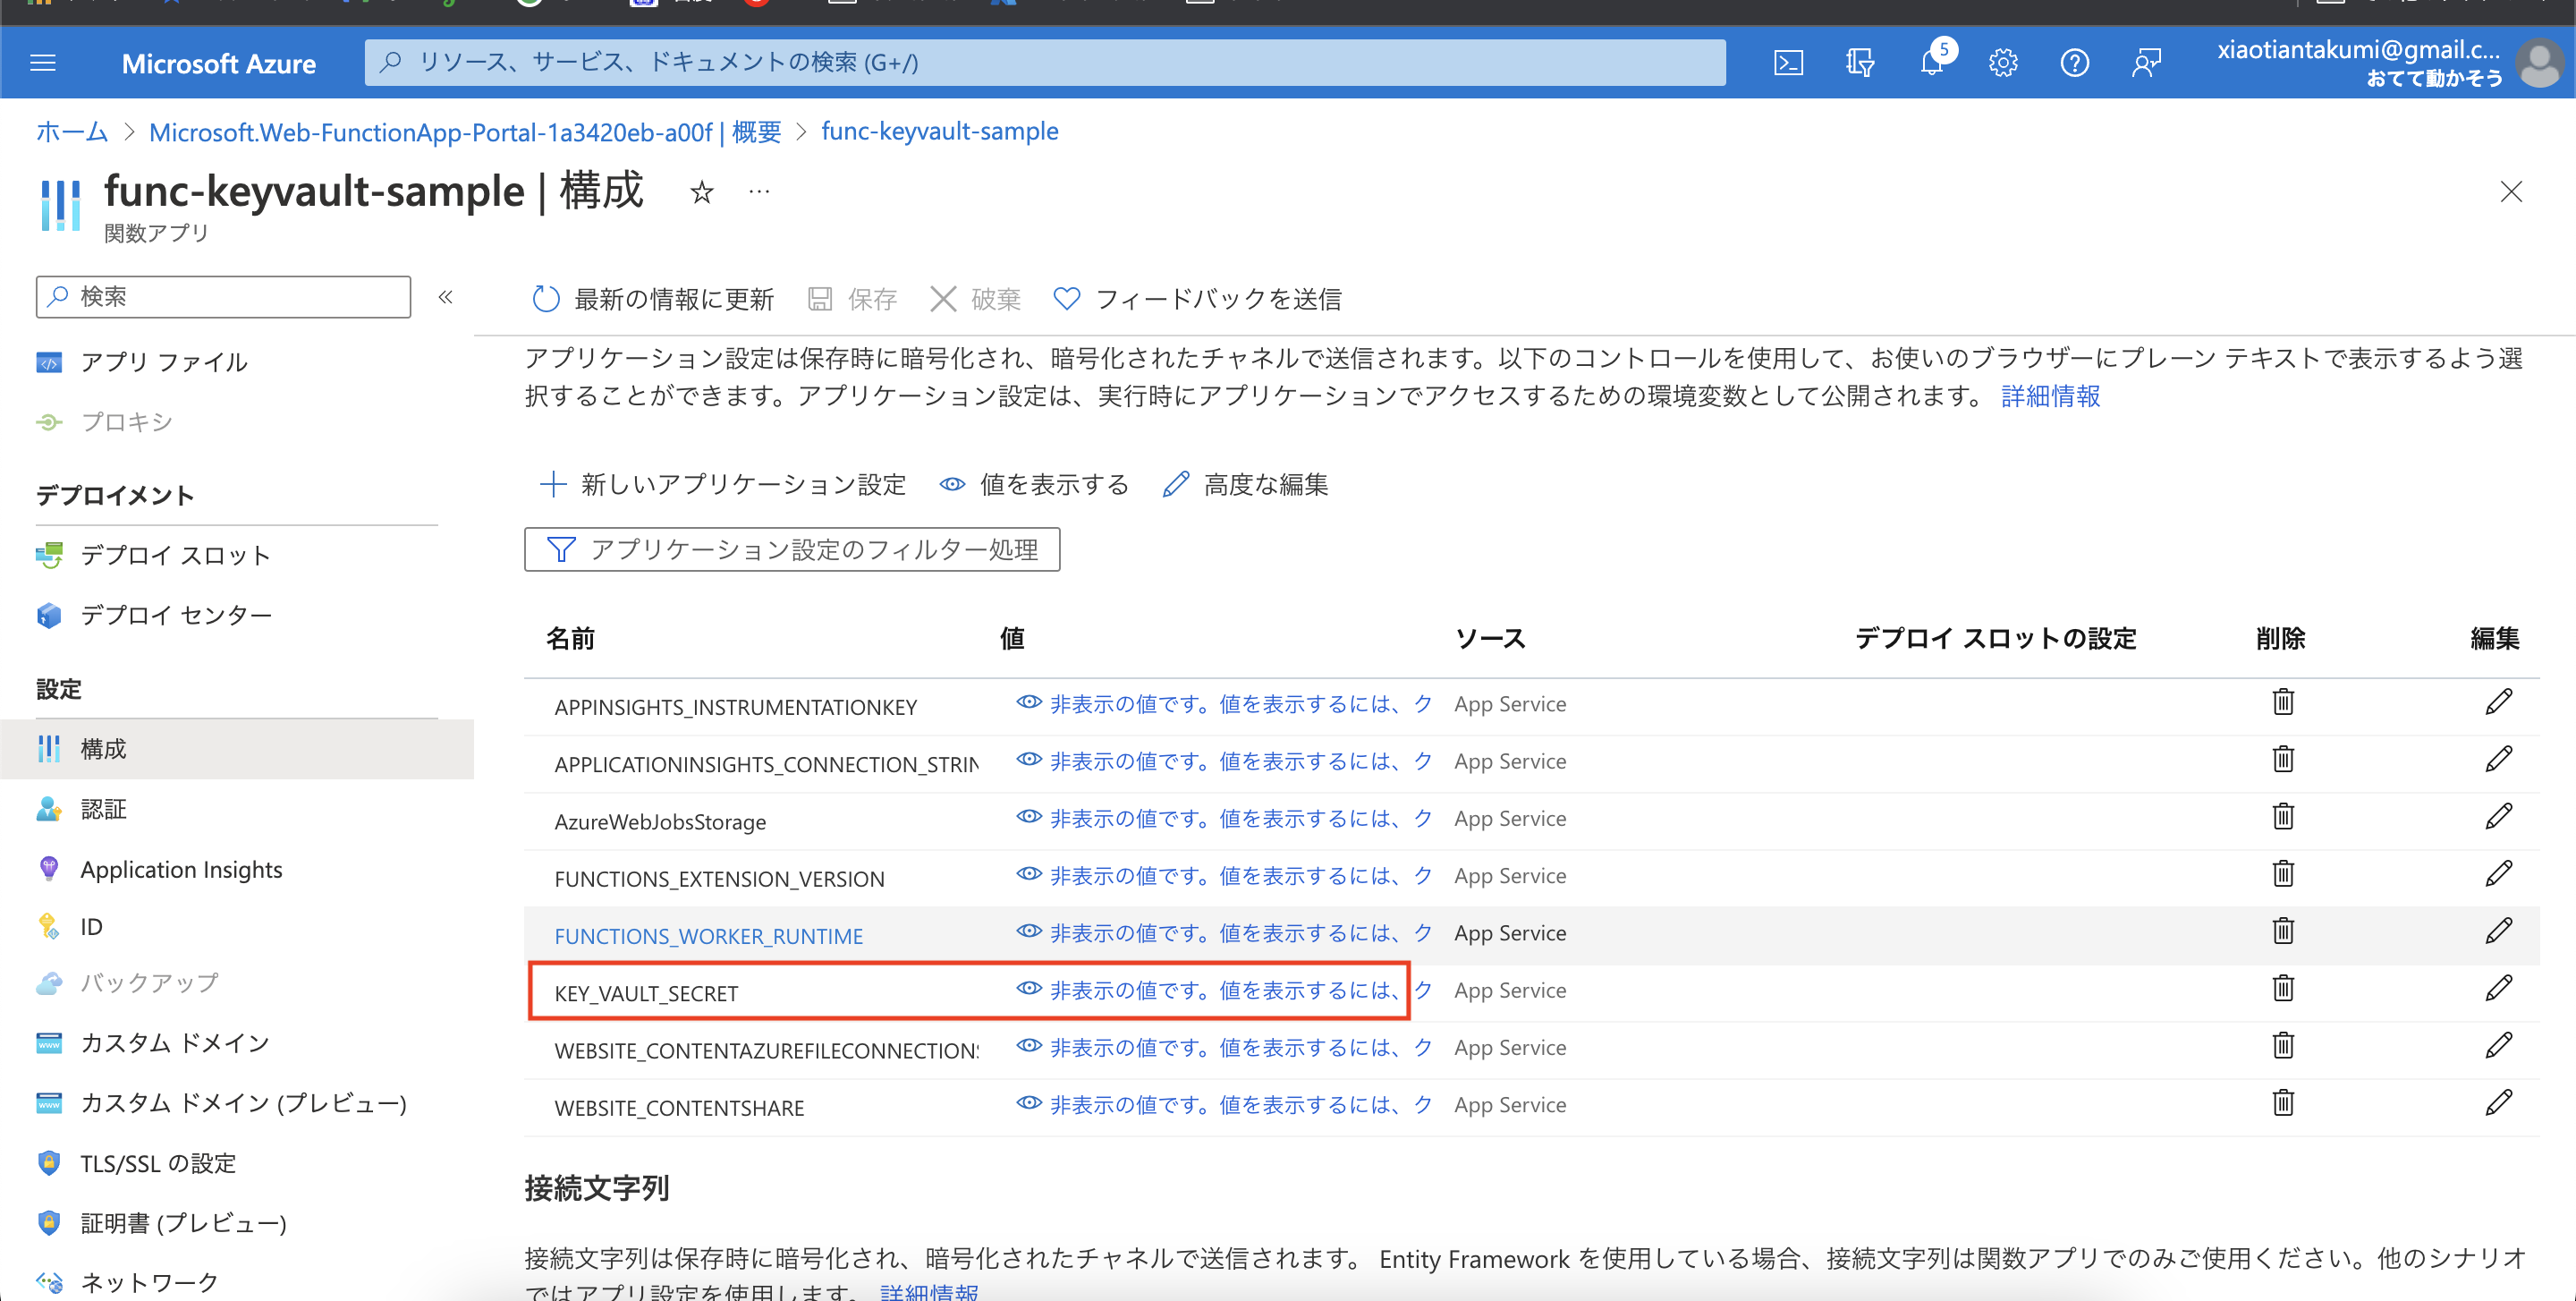
ということで、構成情報を設定します。構成から新しいアプリケーション設定を追加します。

名称には、process.env.KEY_VAULT_SECRETで記載したキーとなるKEY_VAULT_SECRETを入力します。値に設定値を入れます。
では、再度確認します。
うまく動きました。

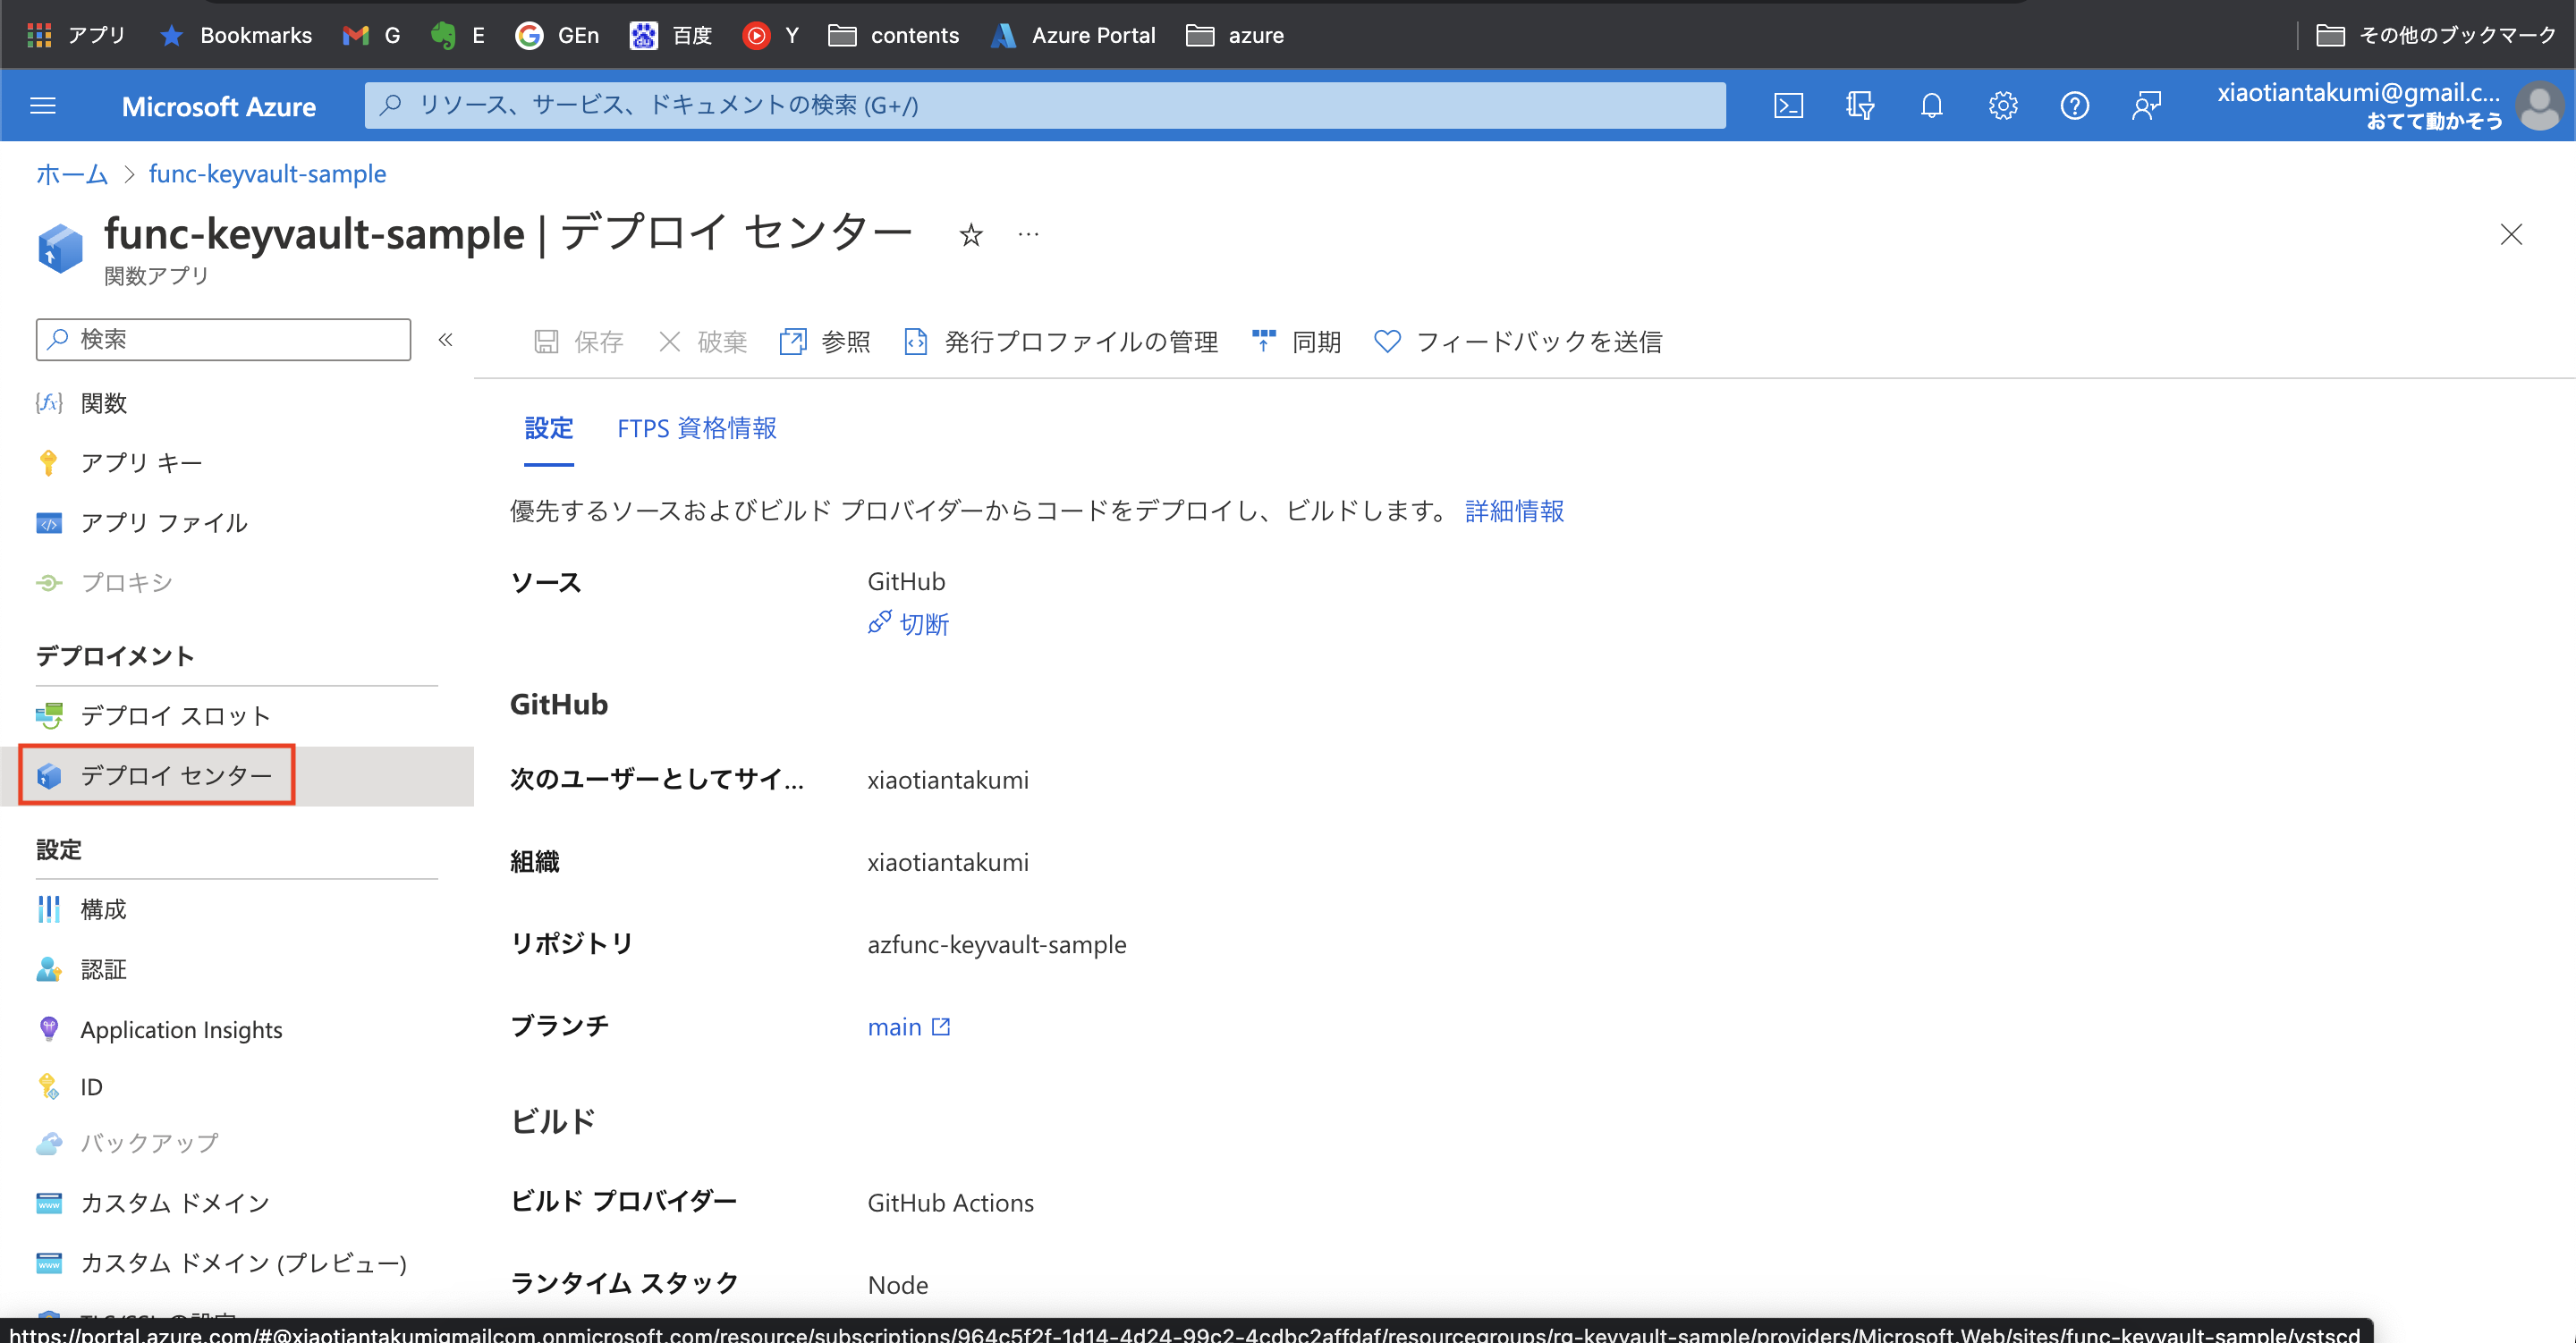
リソース作成後にGitHub Actionsの設定をしたい場合
既に関数アプリをデプロイしている場合は、デプロイ センターからGitHub Actionsとの連携設定ができます。