Microsoft Azure Storage Explorerの使い方
公式のドキュメントはこちらにあります。
少し宣伝させてください!Azureの試験対策本を執筆しました。
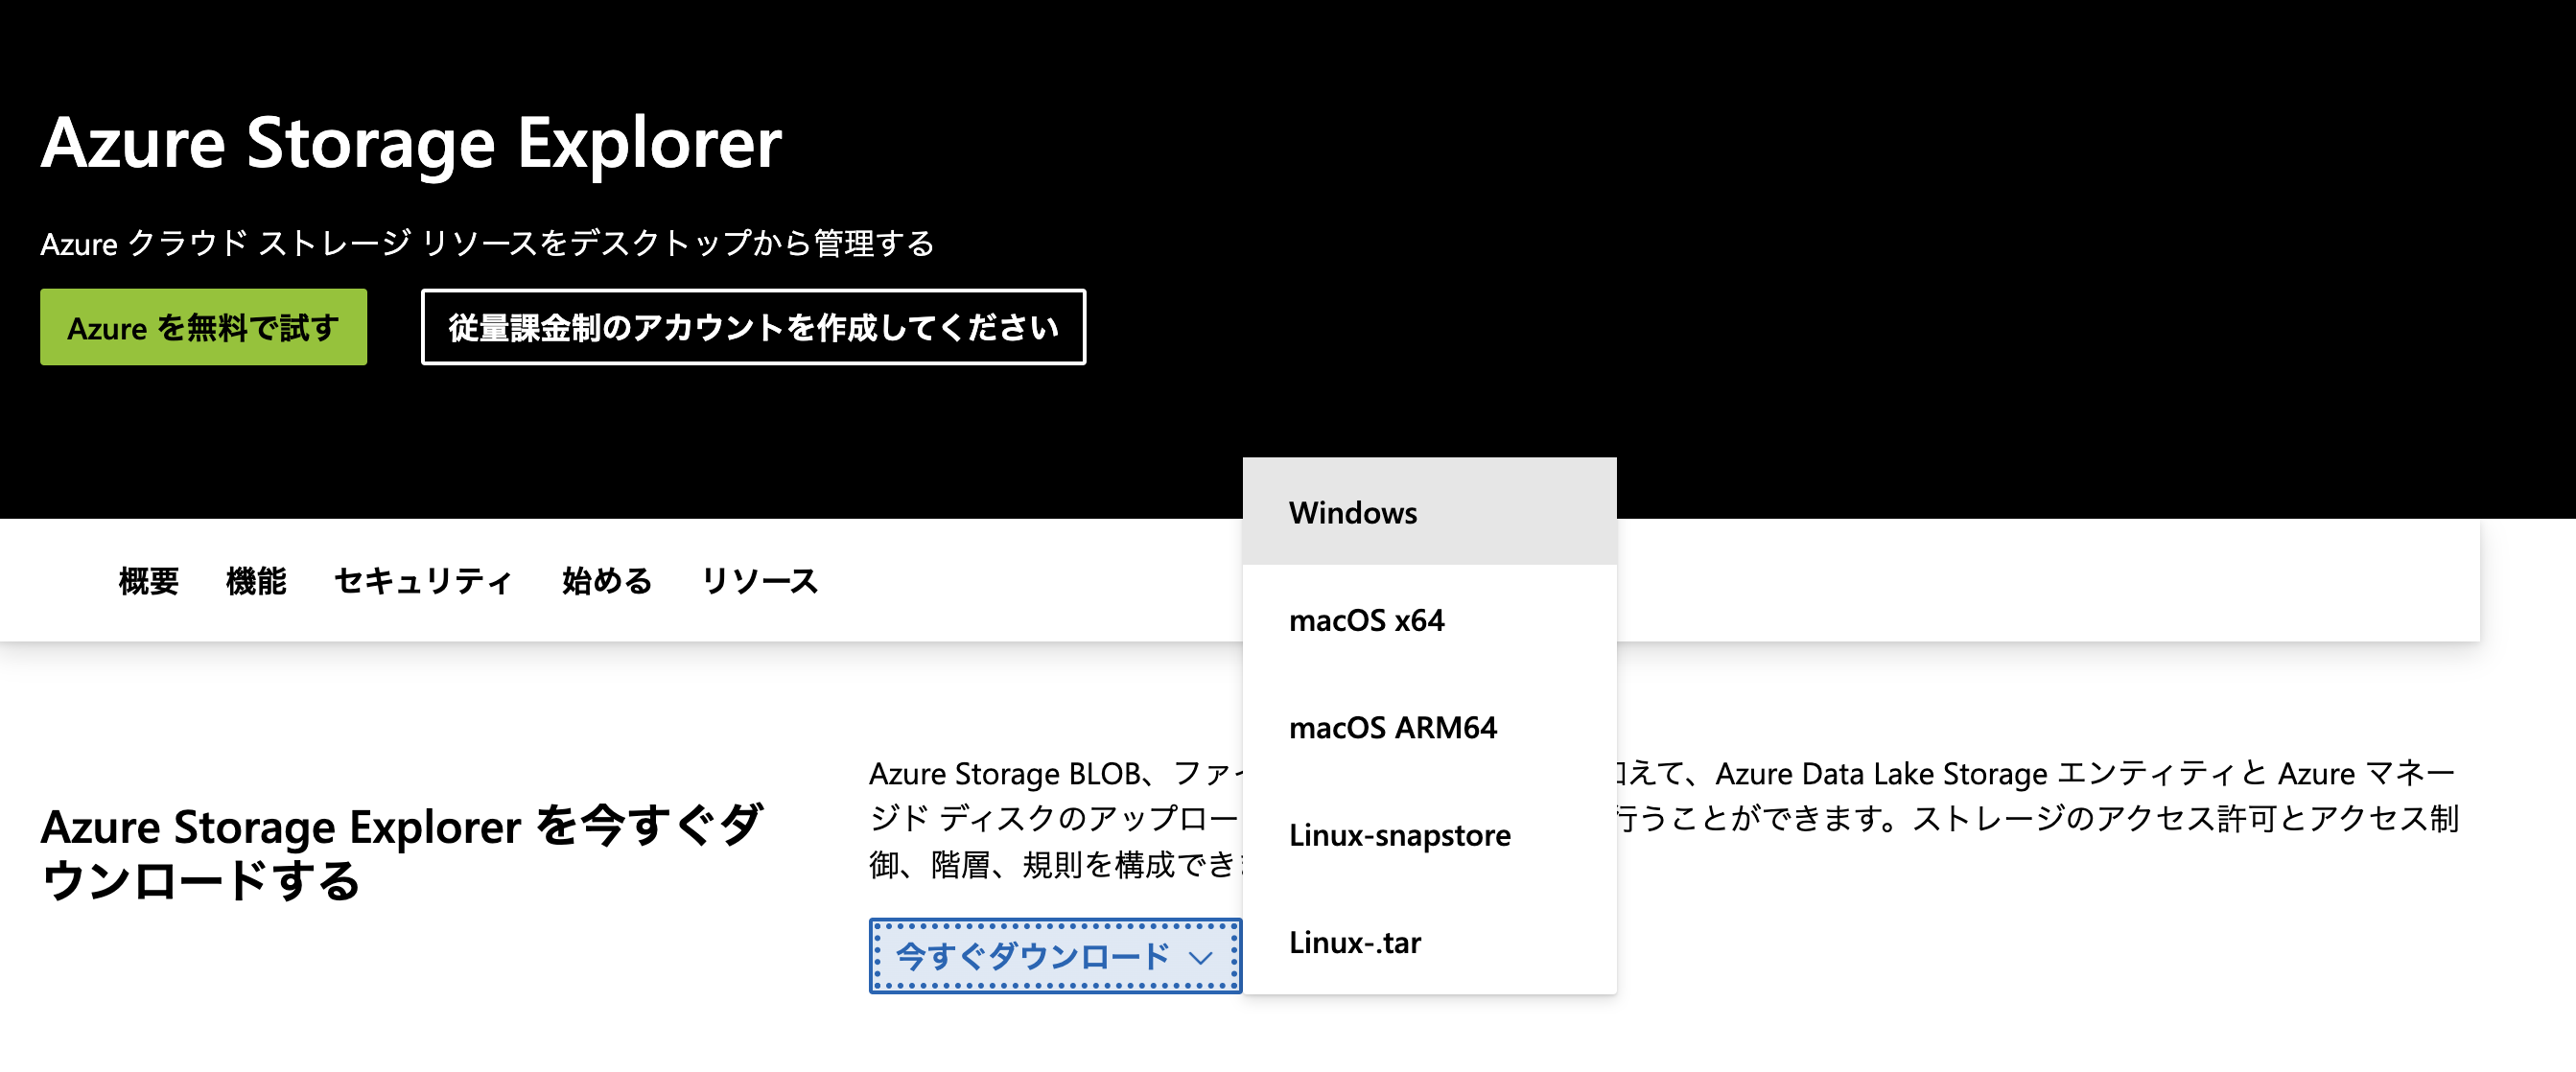
インストール
こちらからインストールできます。
自分のOSにあったものをダウンロードしてください。私はシリコンチップのMacなのでmacOS ARM64です。
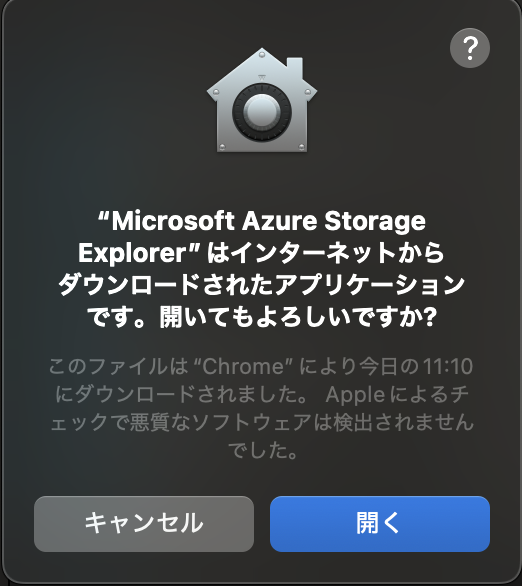
ダウンロードして開く
これでインストールは完了です。
接続する
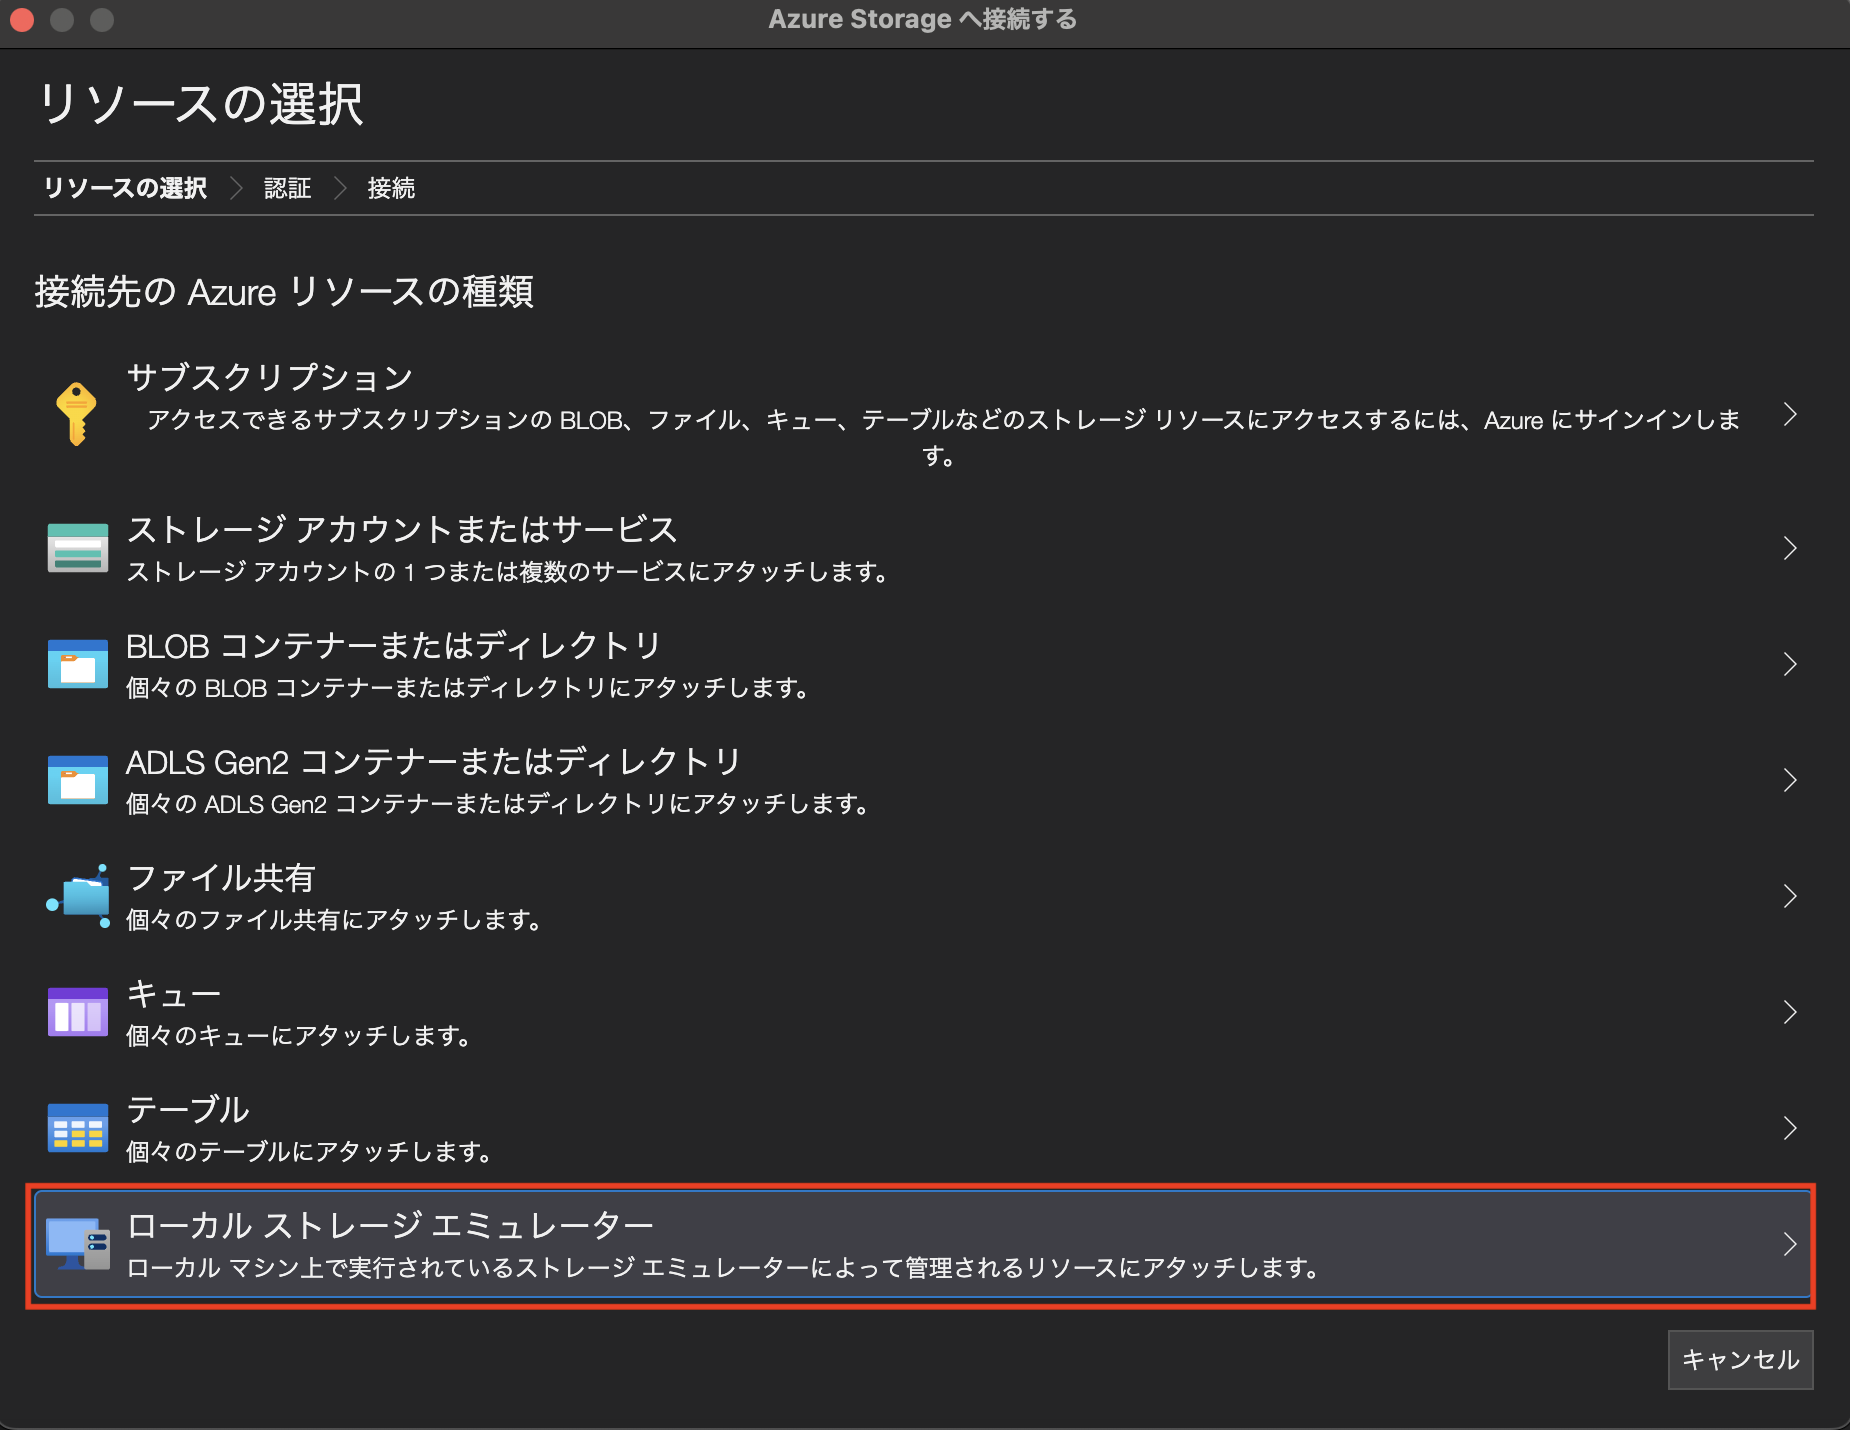
Azuriteに接続する
ローカルでAzuriteに接続します。
ここではDockerコンテナーで立ち上げたAzuriteに接続します。
Dockerコンテナーで立ち上げたAzuriteについては以下の記事を参考にしてください。
ローカルストレージエミュレーターを選択します。
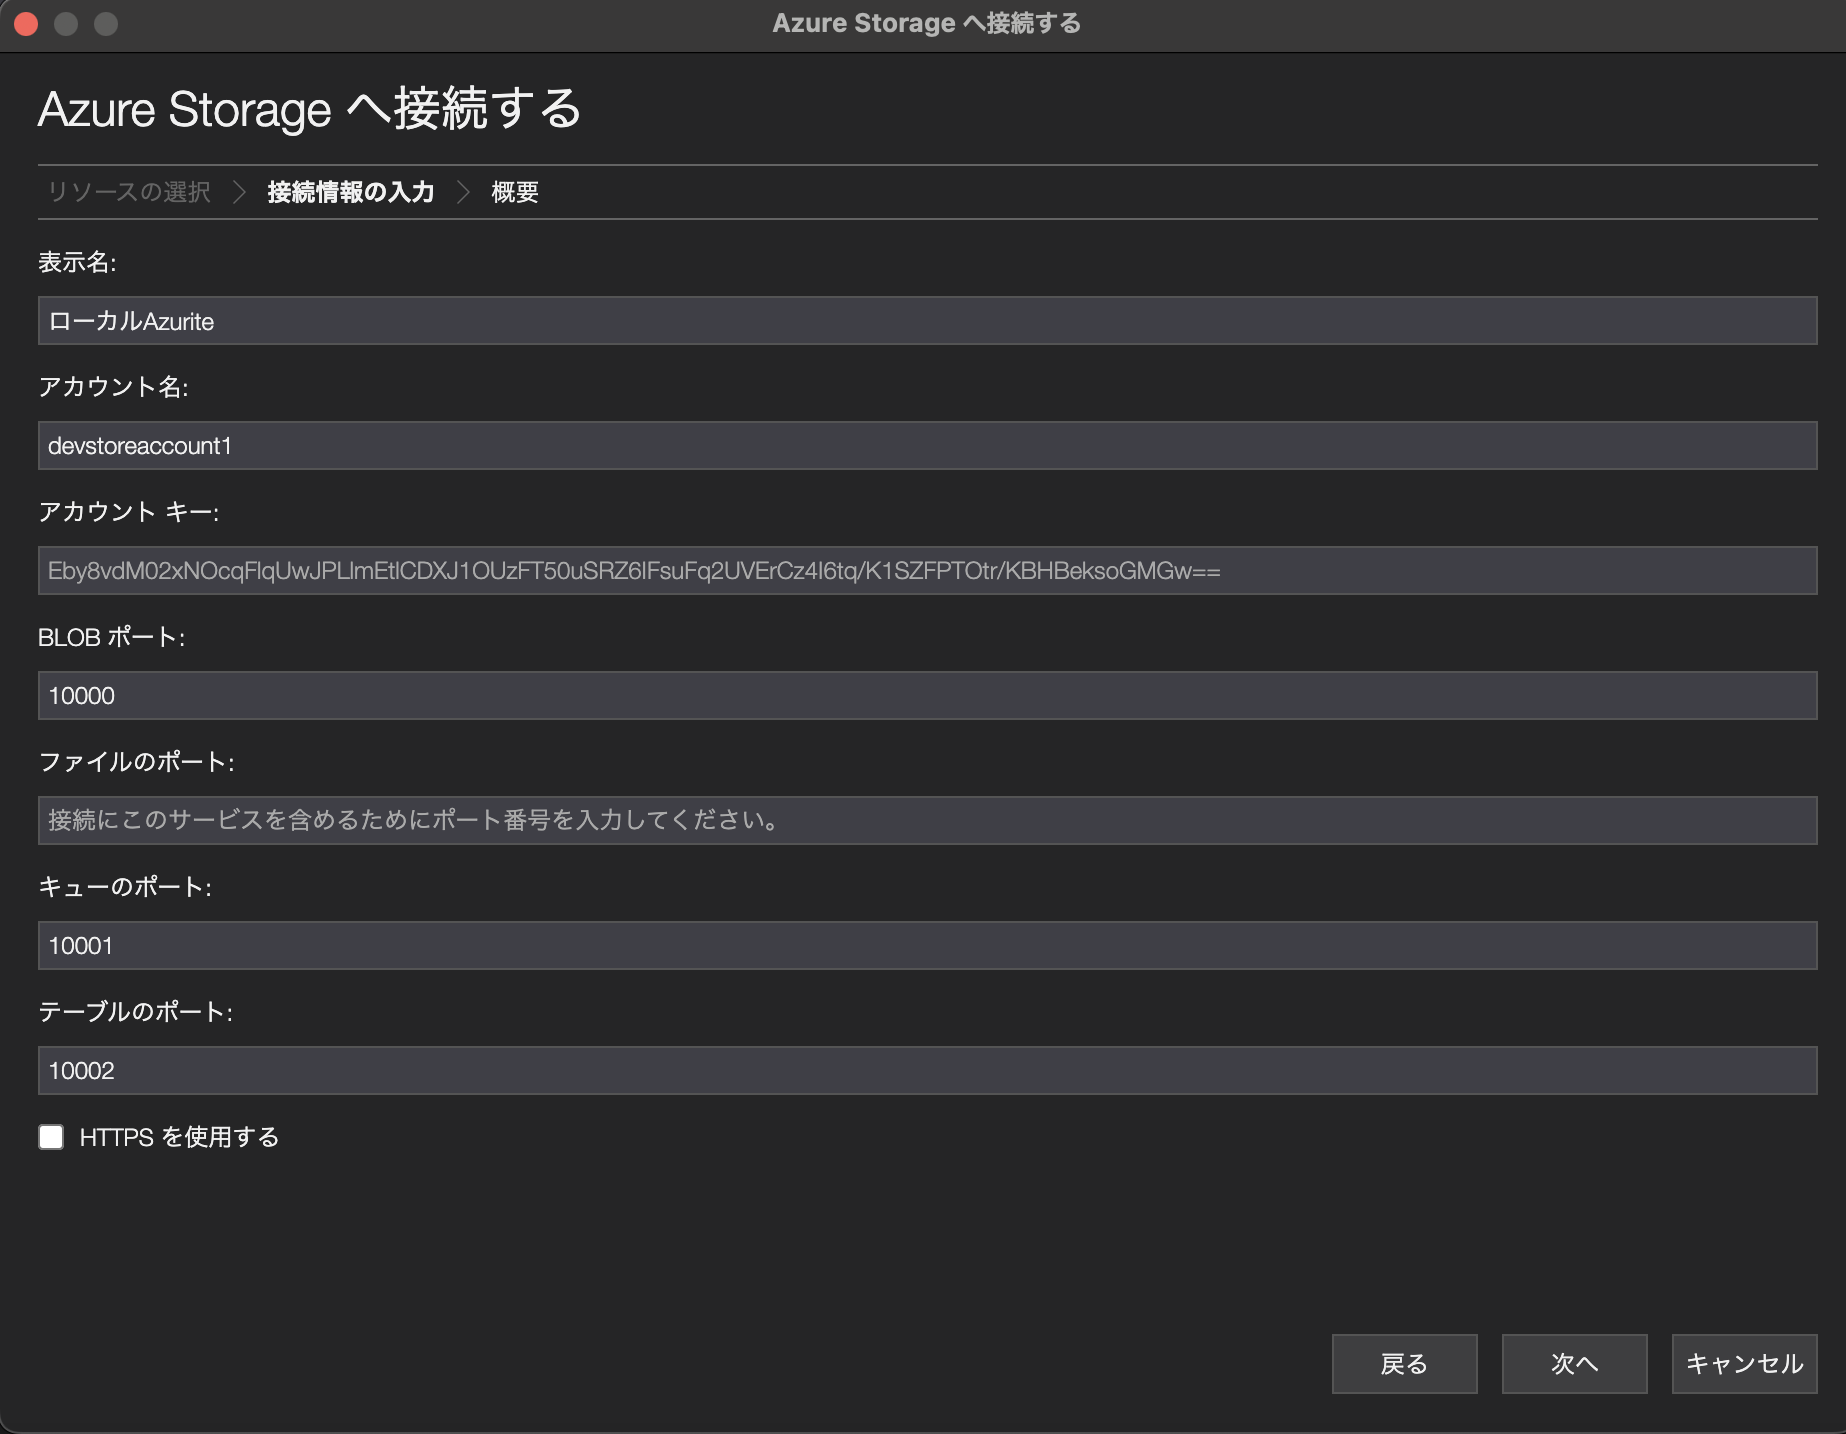
表示名だけ変更すればいいと思います。ローカルを選んだ時点でアカウントキーが入っていますが、これはAzuriteの既定値なのでこのままでいいです。特に何か設定するわけではないので楽ですね。
接続ボタンを押せば追加されます。
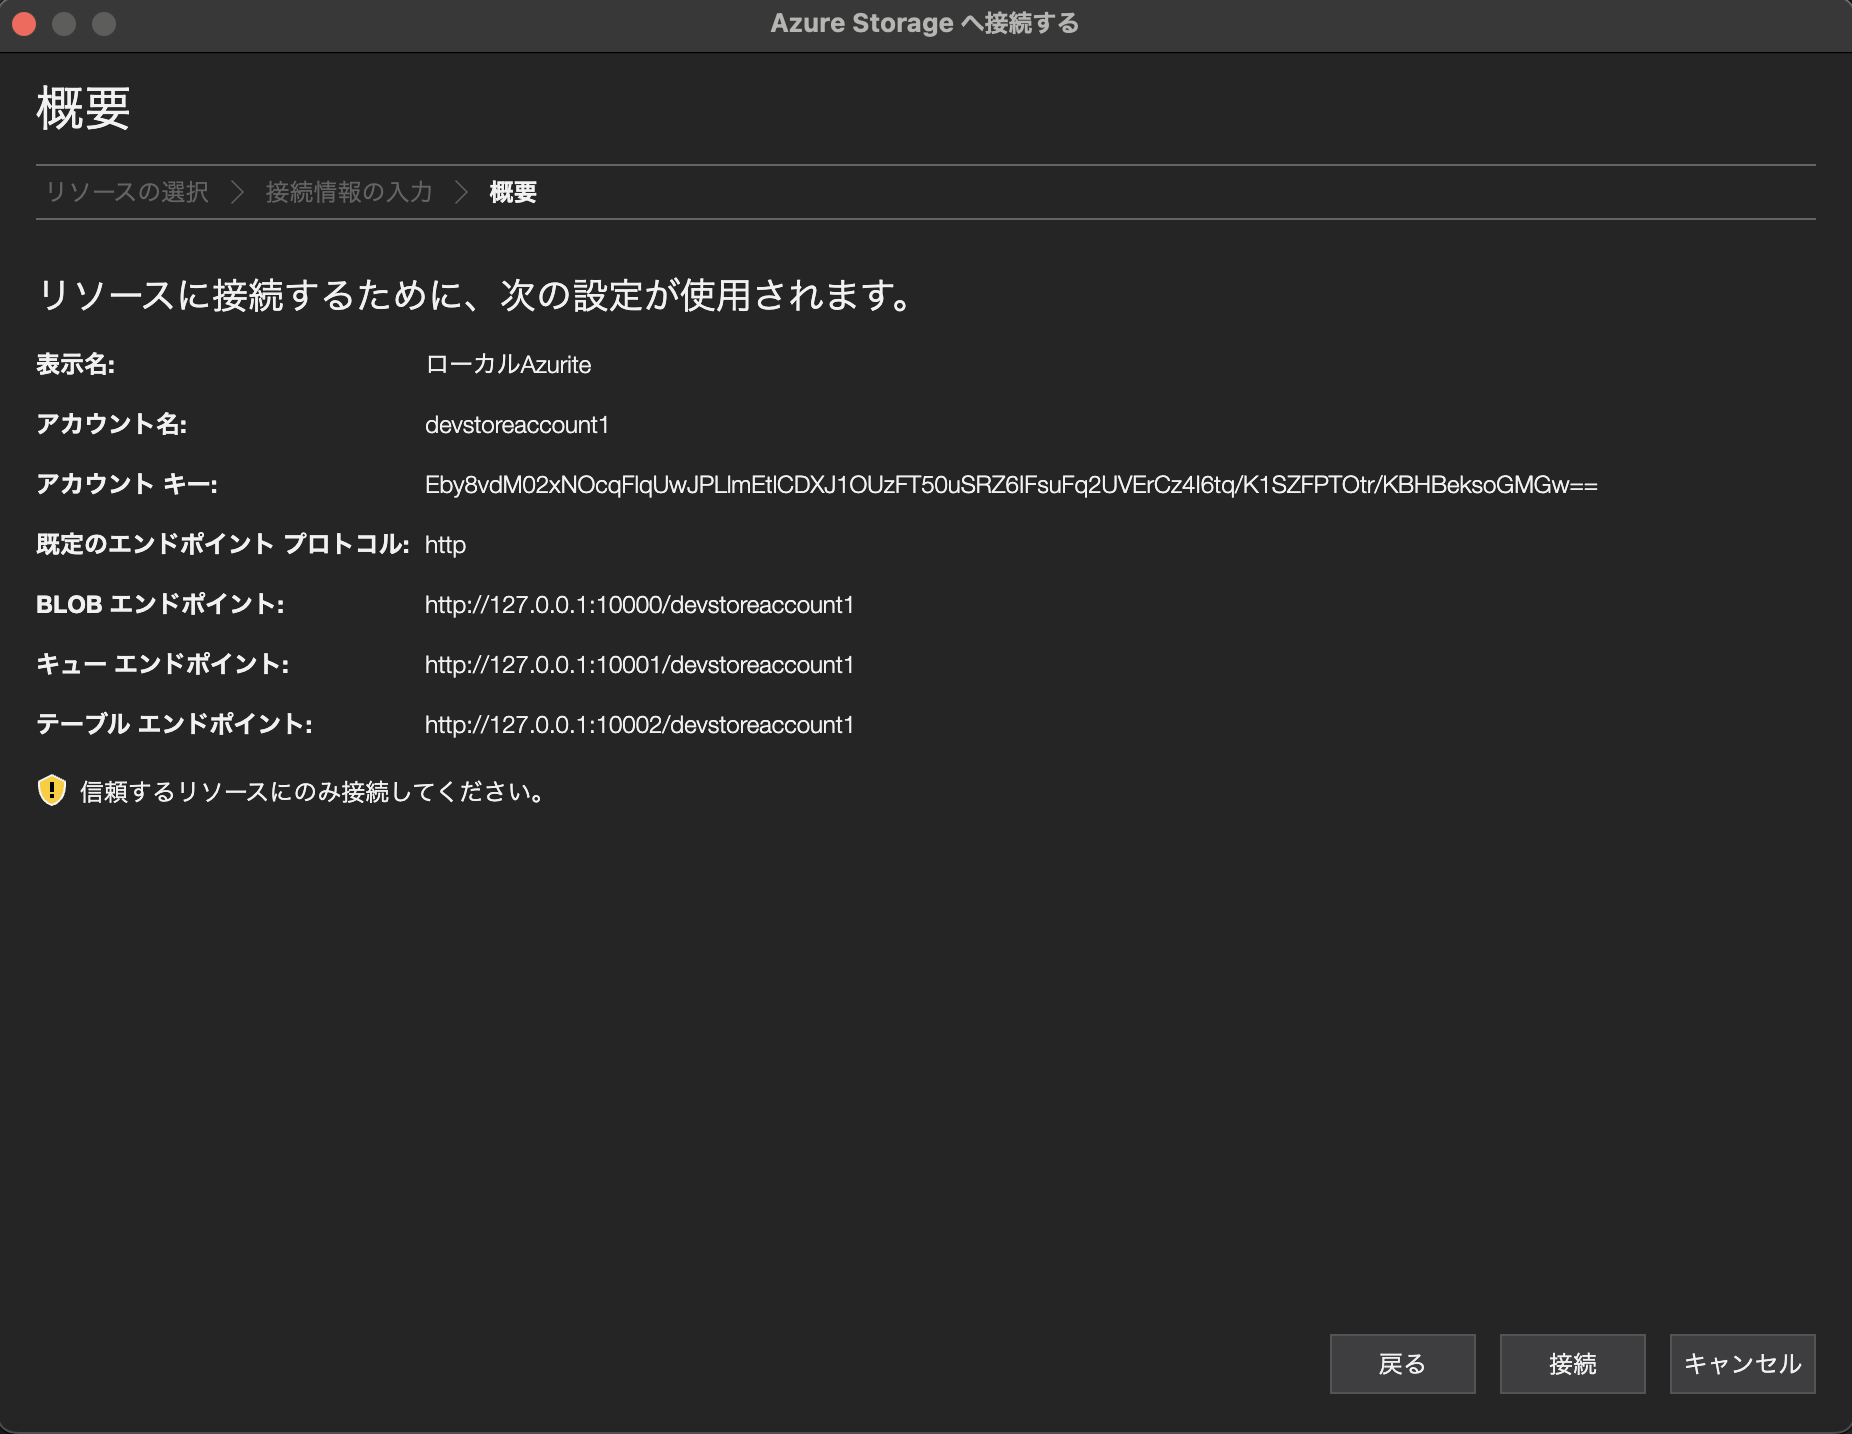
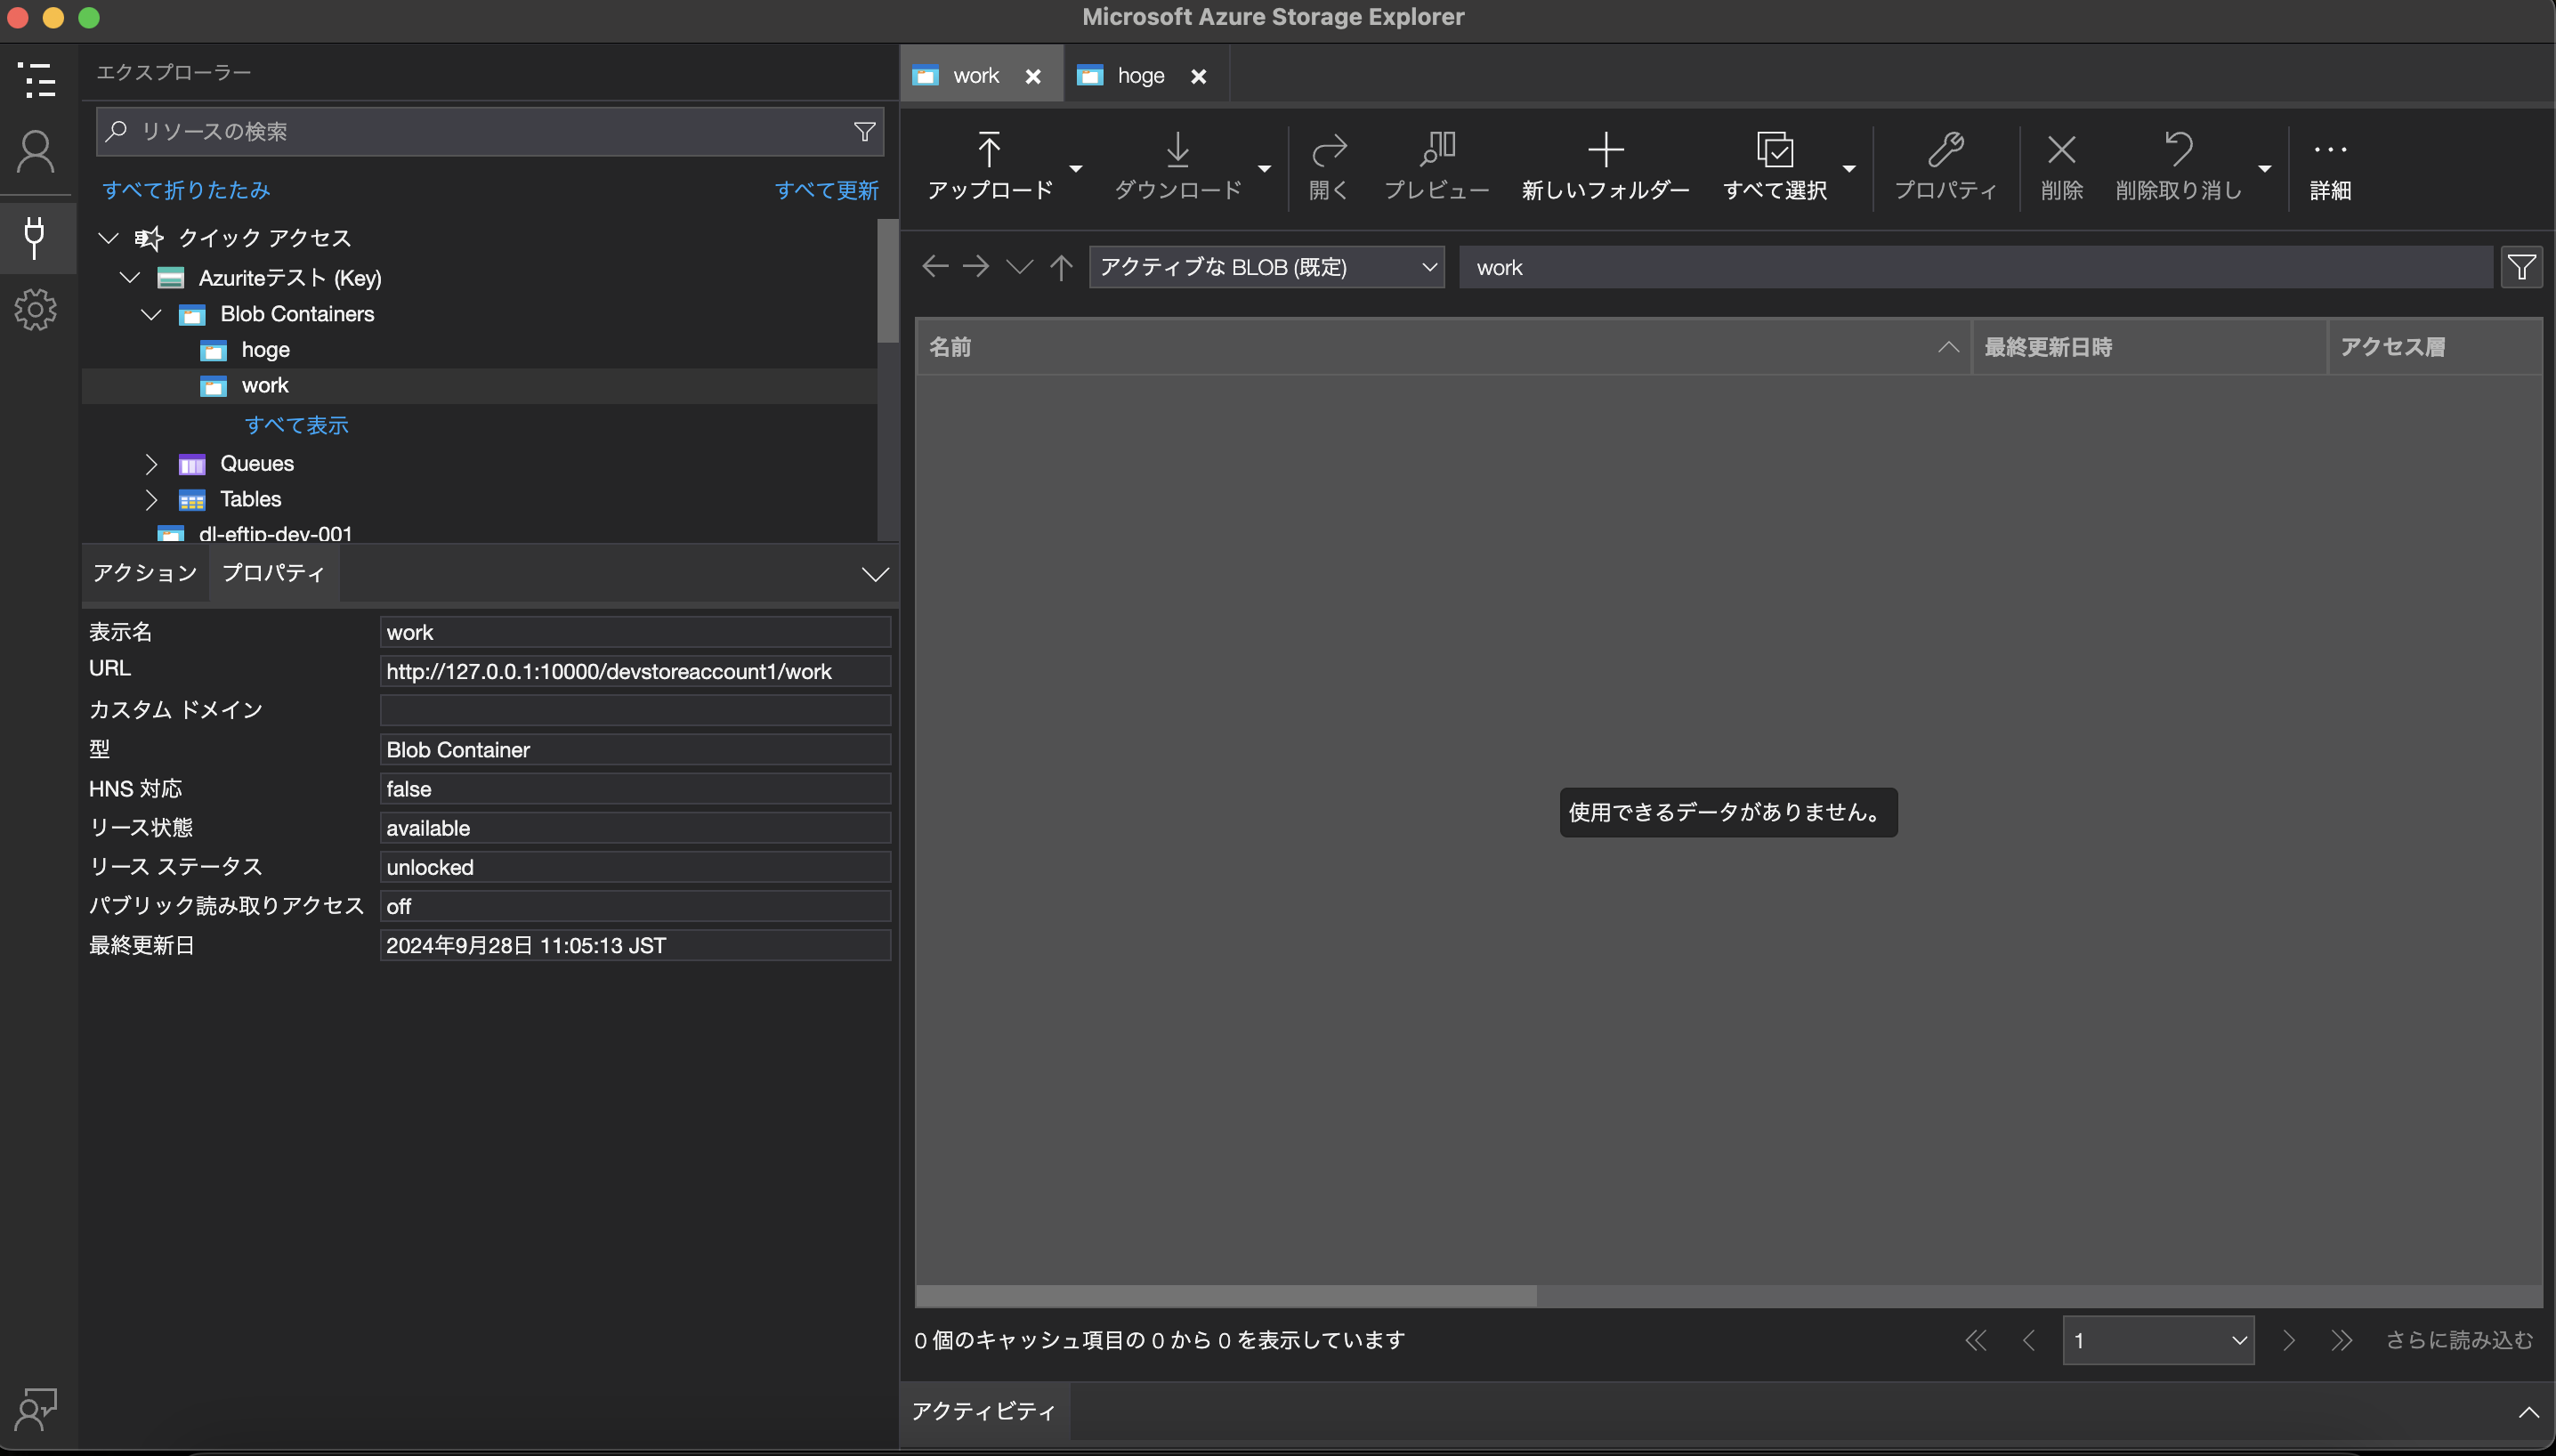
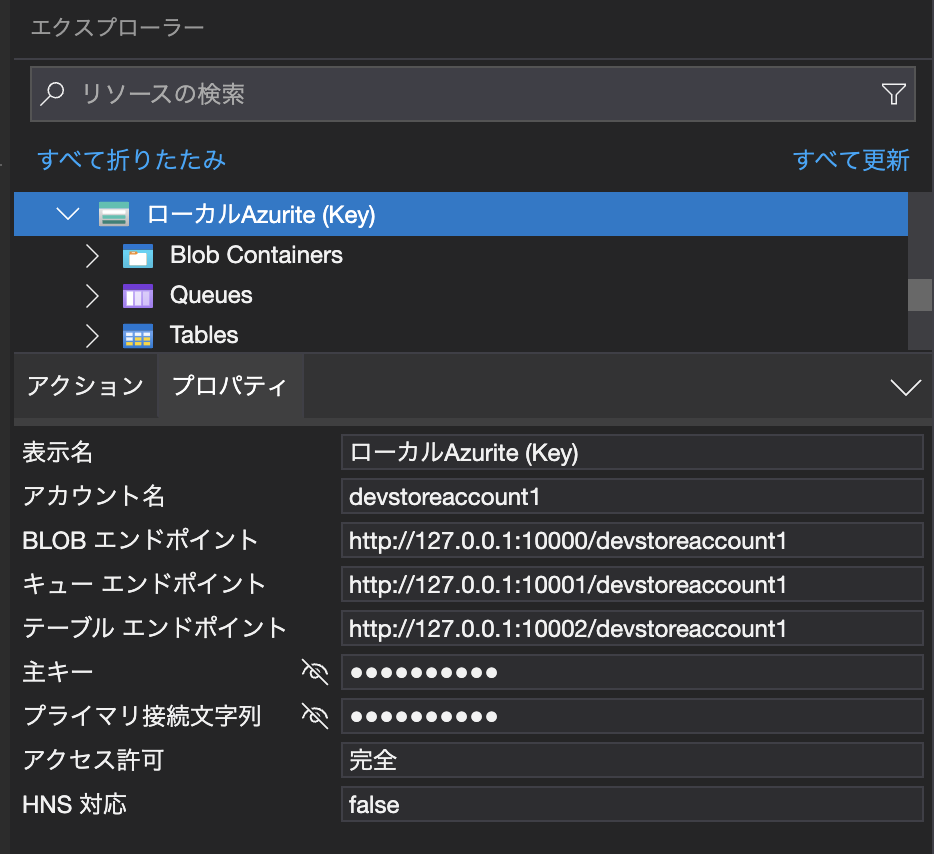
ローカルAzurite(Key)というので追加されました。
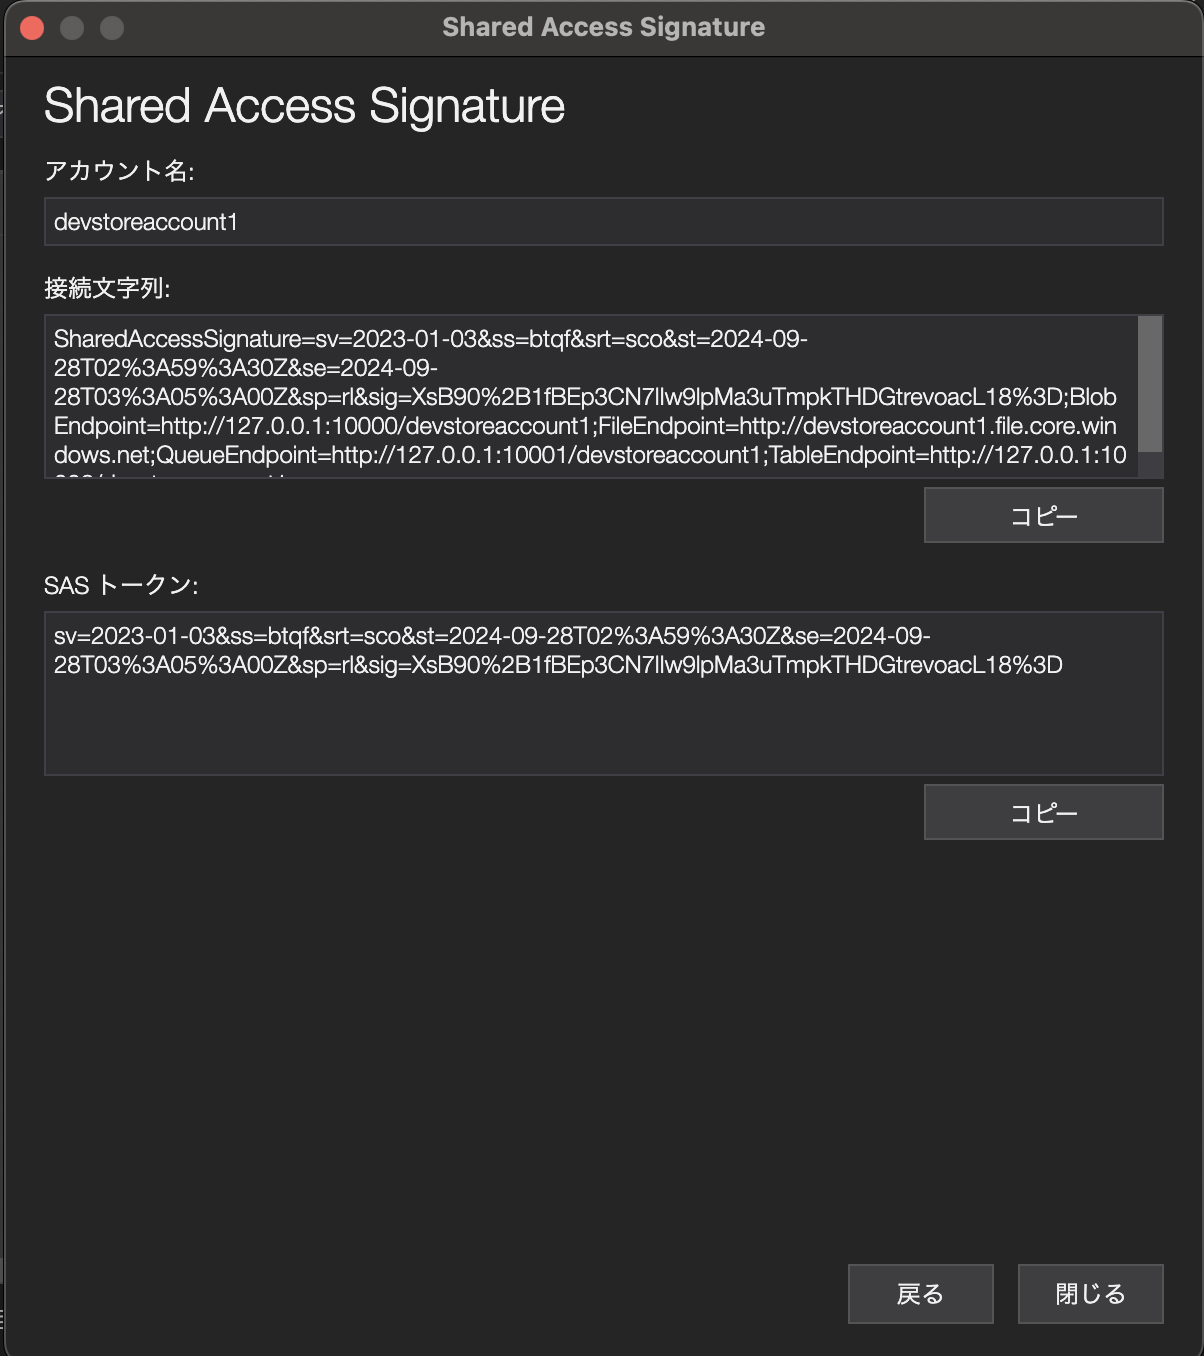
選択状態にするとプロパティが出ます。ここから接続文字列などもコピーできます。
Blob
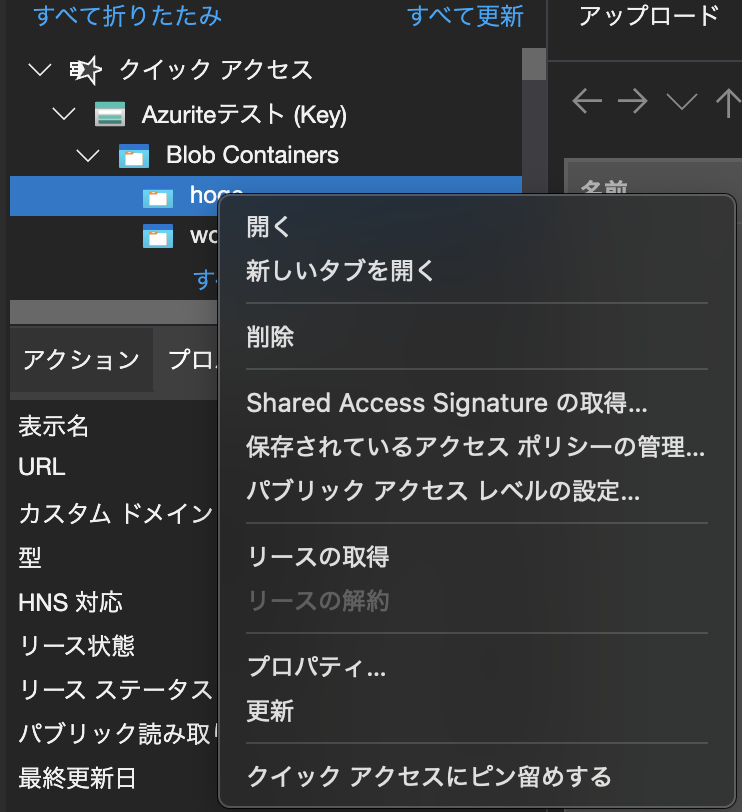
コンテナーを作成する
こちらはリモートでもAzuriteでも同じです。
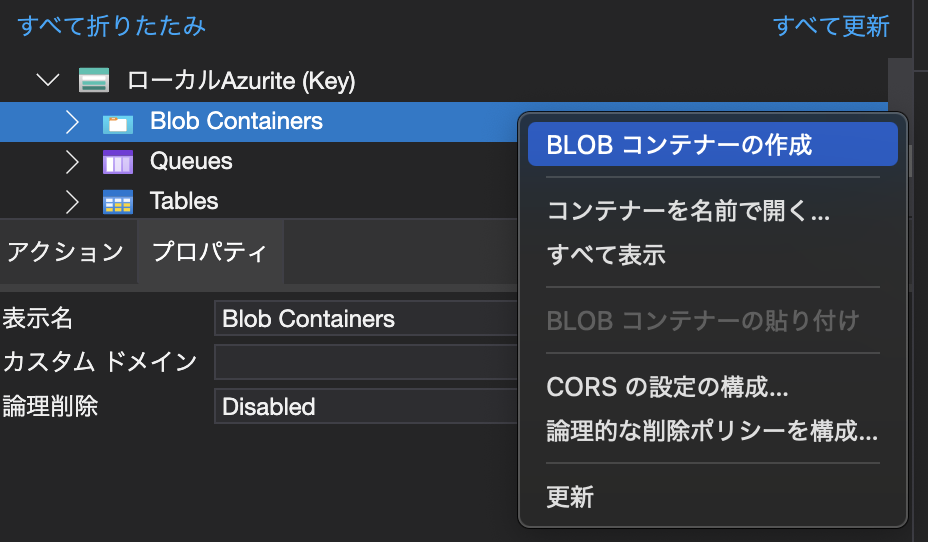
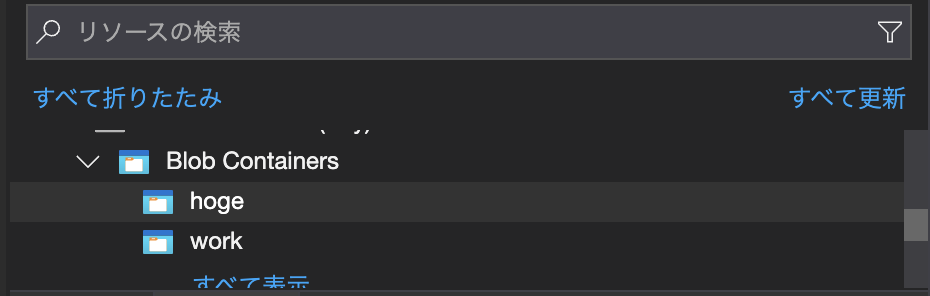
作成すると追加されます。
SASキーの発行
Blobコンテナーを選んでSASキーを発行することができます。
公式の説明はこちらです。
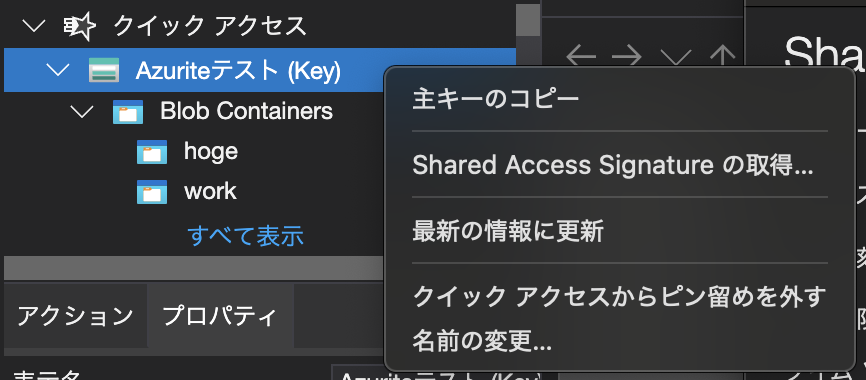
アカウント レベルの SASキー
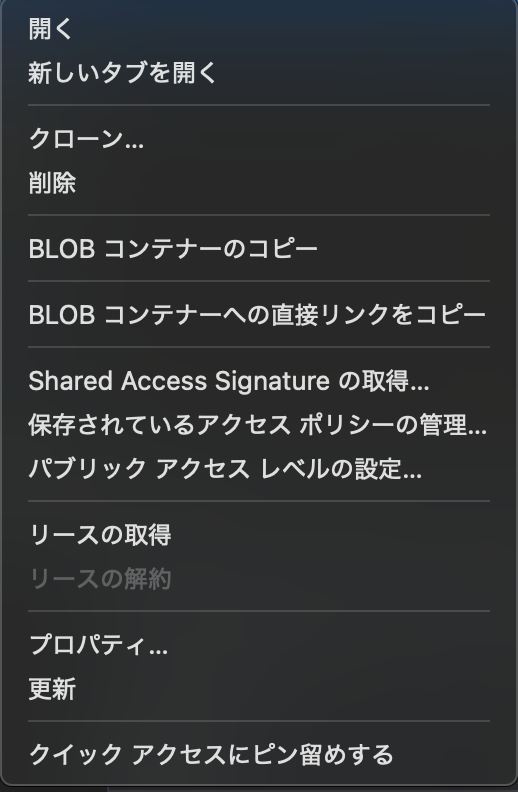
Shared Access Signatureの取得を選択します。
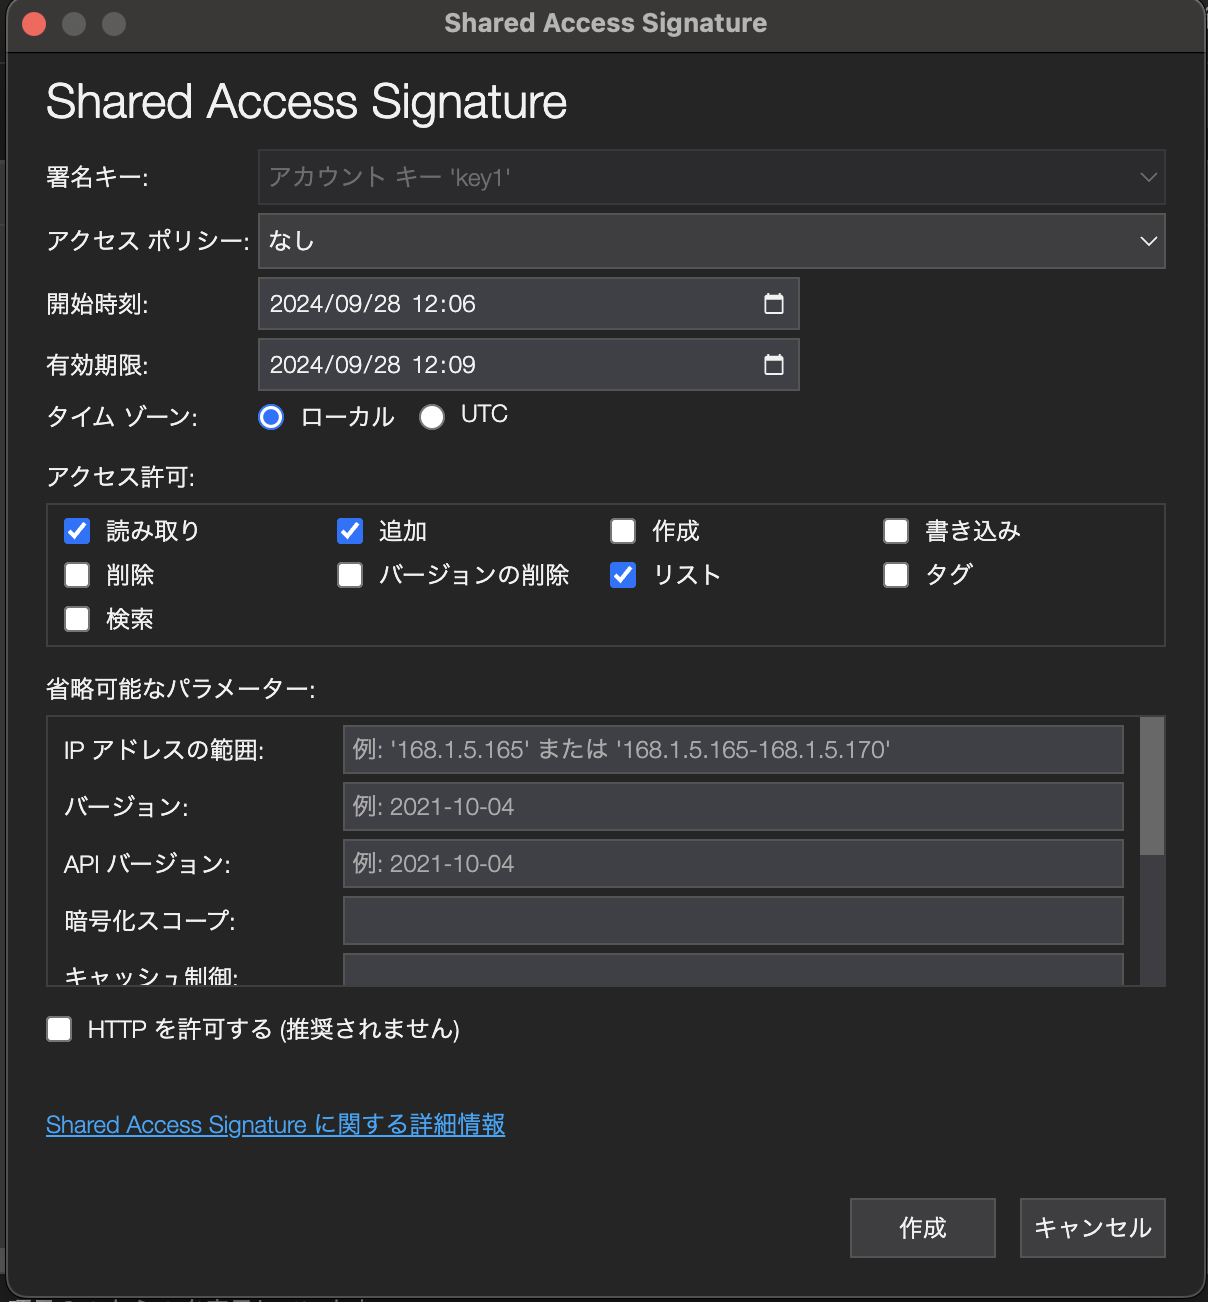
次にSASキーで許可する設定をします。
後ほどBlobのSASキーについて書きますが、ここの画面の項目は当然少し異なります。
これはアカウントレベルのSASキーなので、Storageアカウントのサービスを選ぶ項目があります。
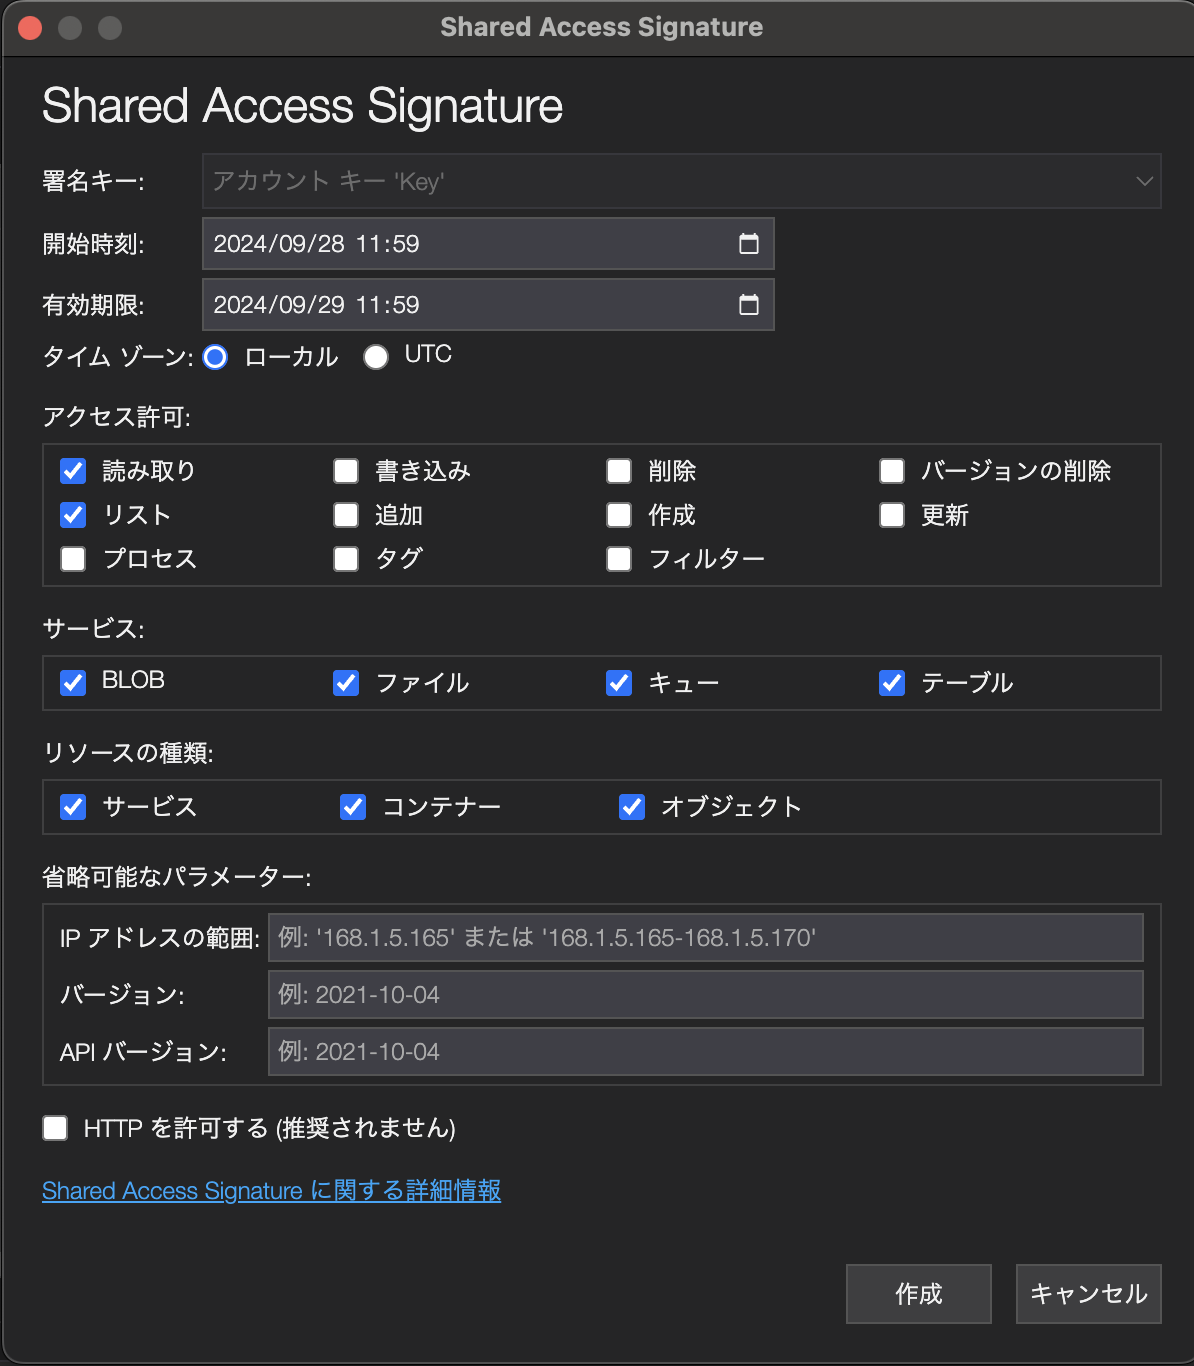
作成を押すと作成されます。Azuriteなのでもちろんhttp://127.0.0.1という感じでローカルを指します。あとhttpしかないので、httpsでは当然表示されてないです。HTTPを許可する(推奨されません)のチェックを外してますが、この選択結果には左右されないです。
BLOB コンテナーの SAS を取得
公式の内容はこちら
Shared Access Signatureの取得を選択します。
以下の画面が出てくるので、許可の内容を設定します。
こちらも作成して使用できます。
補足
一度発行したSASキーを失効させたい場合はどうするか。以下の記事が参考になります。
https://azure.github.io/jpazpaas/2023/06/15/How-To-Expire-SAS-Token.html
Microsoft Azure Storage Explorer経由でSASキーを発行する場合、通常は「アカウントキーを使用して発行されたSAS」が作成されます。このケースでは、「シナリオ C : アクセス ポリシーを設定せずアカウントキーを利用して発行された場合」に該当するはずです。
Azure Queue Storage
公式の内容はこちら
https://learn.microsoft.com/ja-jp/azure/storage/queues/storage-queues-introduction
まずはキューを作成をします。
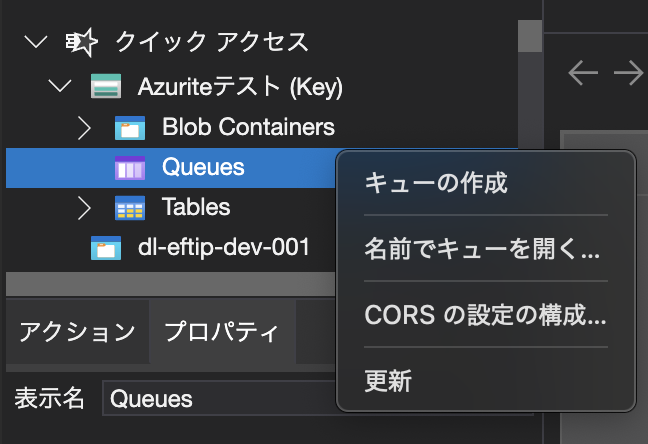
追加でキューを作成できます。
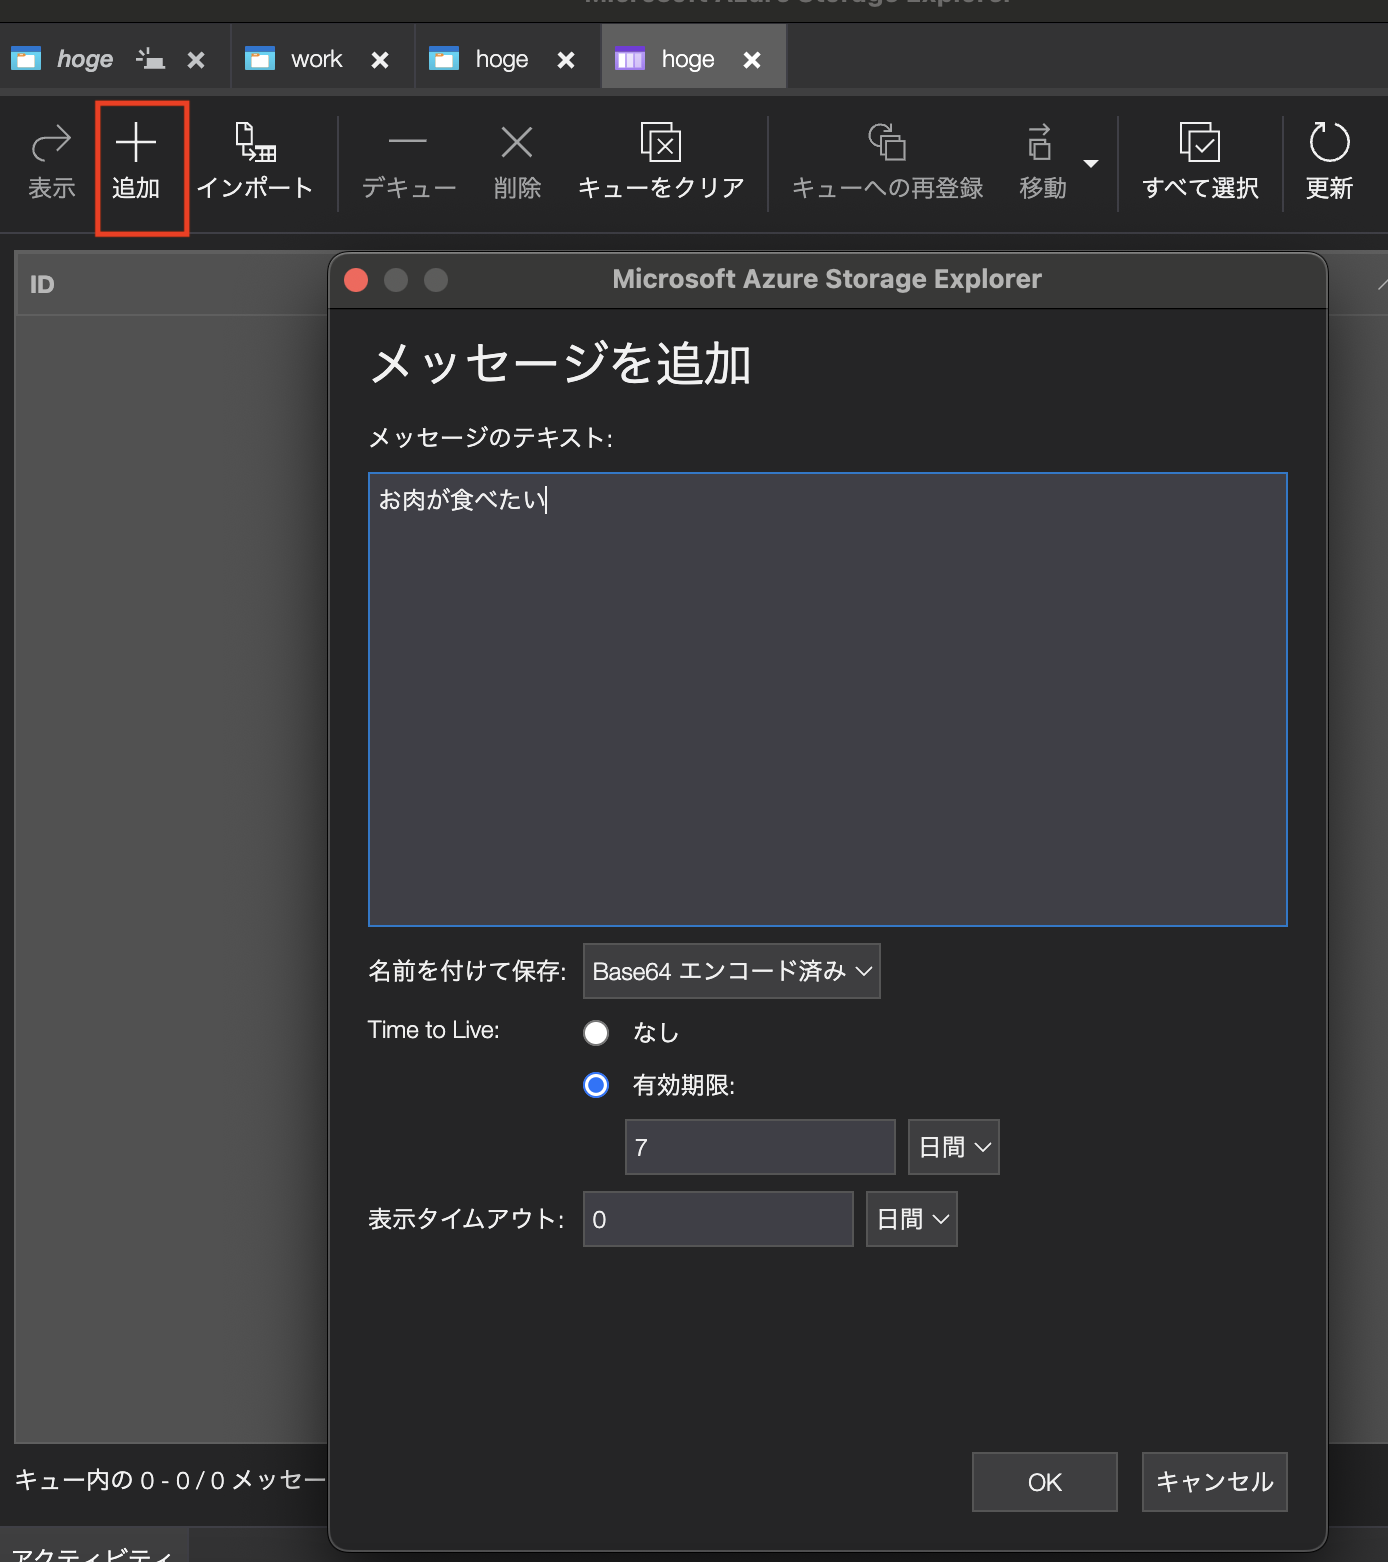
追加された内容にはID,メッセージ,挿入時刻,有効期限,デキューの回数,サイズが表示されます。

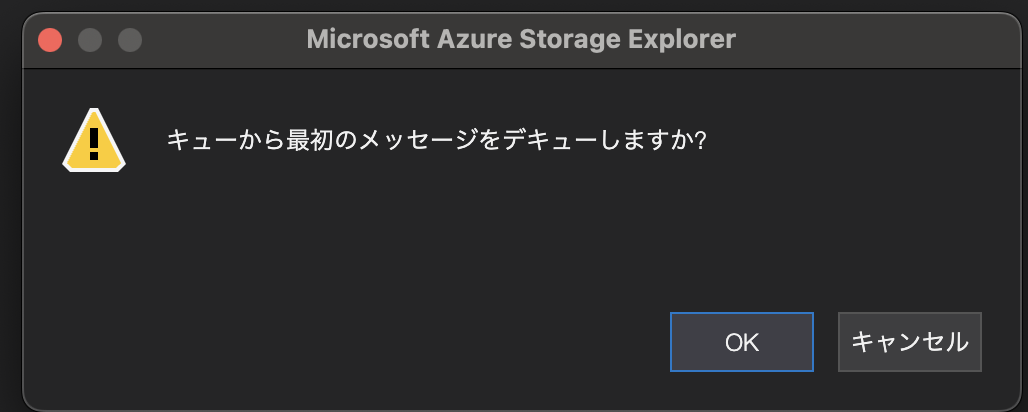
デキューも上のメニューから選択してできます。
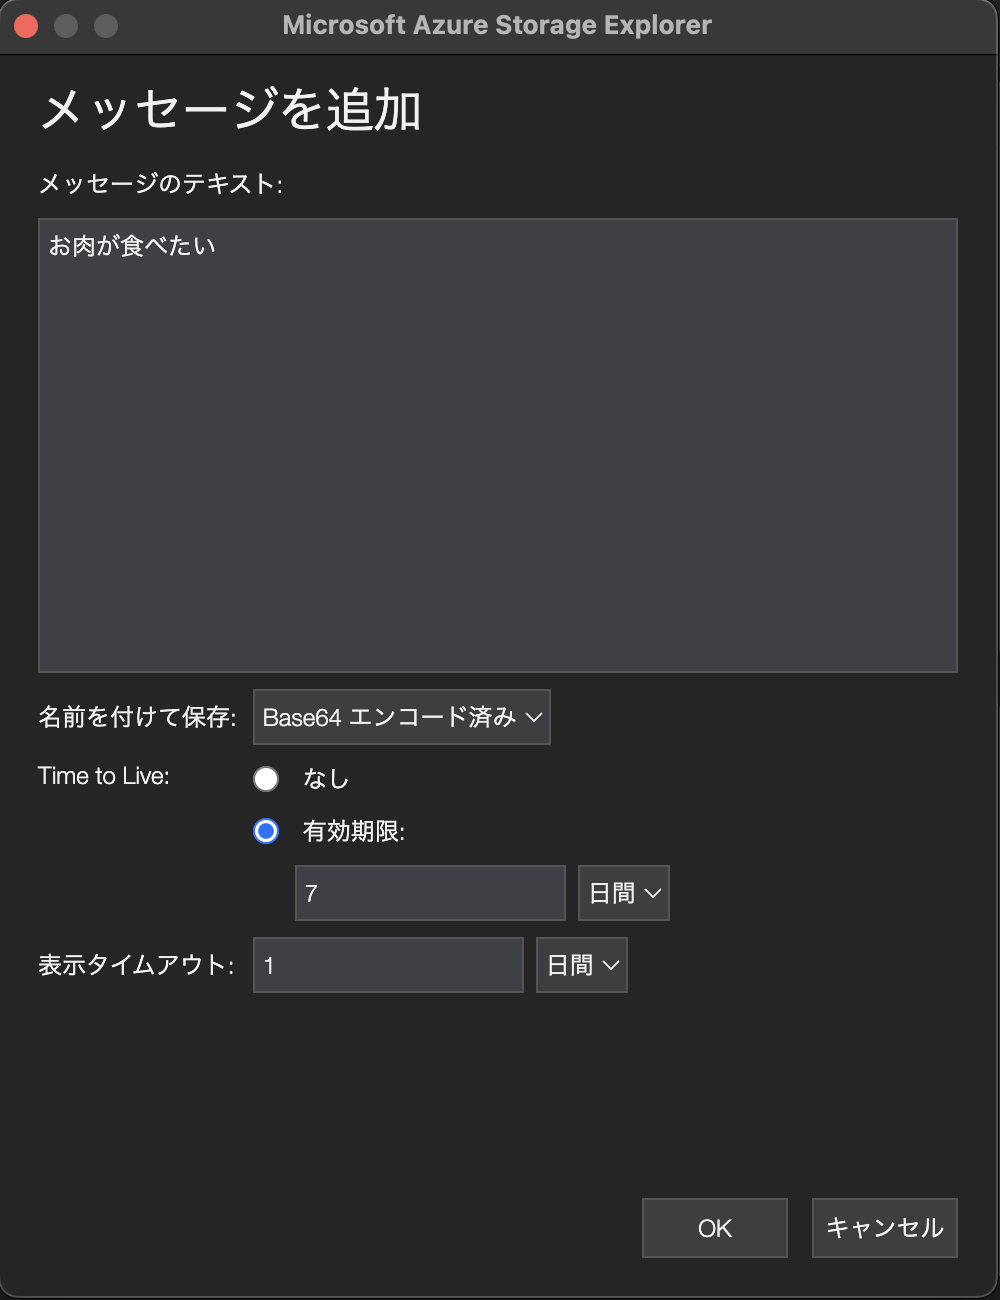
この表示タイムアウトを設定すると、その間キューが見えなくなります。
下記の例では単位が日間になってますが、秒の単位でも設定できます。
制限事項
AzuriteはあくまでStorage Accountのエミュレータ
AzuriteはあくまでStorage Accountのエミュレータなので完全にリモートのStorage Accountと同じというわけではないです。また、Storage Accountにもいくつかの種類があるので、それぞれのタイプごとに使える機能が違ったりします。
ストレージアカウントの種類については下記公式を参考にしてください。
さて、普段Azuriteを使っていて困ったことがあります。
リモートからAzuriteにデータのコピーができない
リモート同士だとコンテナーのコピーが容易にできます。
まずはコンテナーのコピーから。
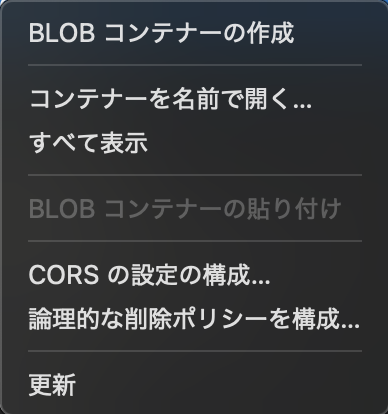
BLOBコンテナーのコピーというのを選択して、別のStorageアカウントにコンテナーをコピーできます。
コピーしたいStorageアカウントのBlobで右クリックするとB LOBコンテナーの貼り付けというのが出てきます。
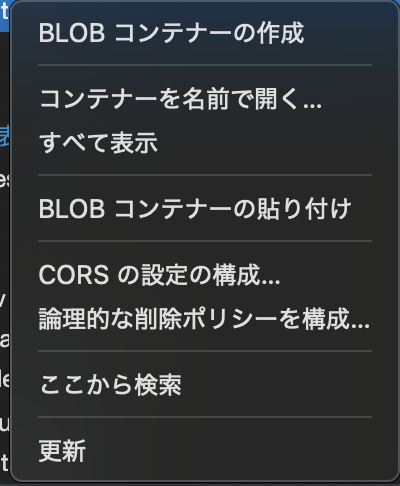
しかし、Azuriteではこのメニューが非活性です。なのでリモートからコンテナーをコピーするにはAZCopyなどでコピーする必要があります。
ファイルのコピーもAzuriteにできない。
リモート同士だとファイルのコピーも簡単にできます。
ファイルを選択してコピーする。
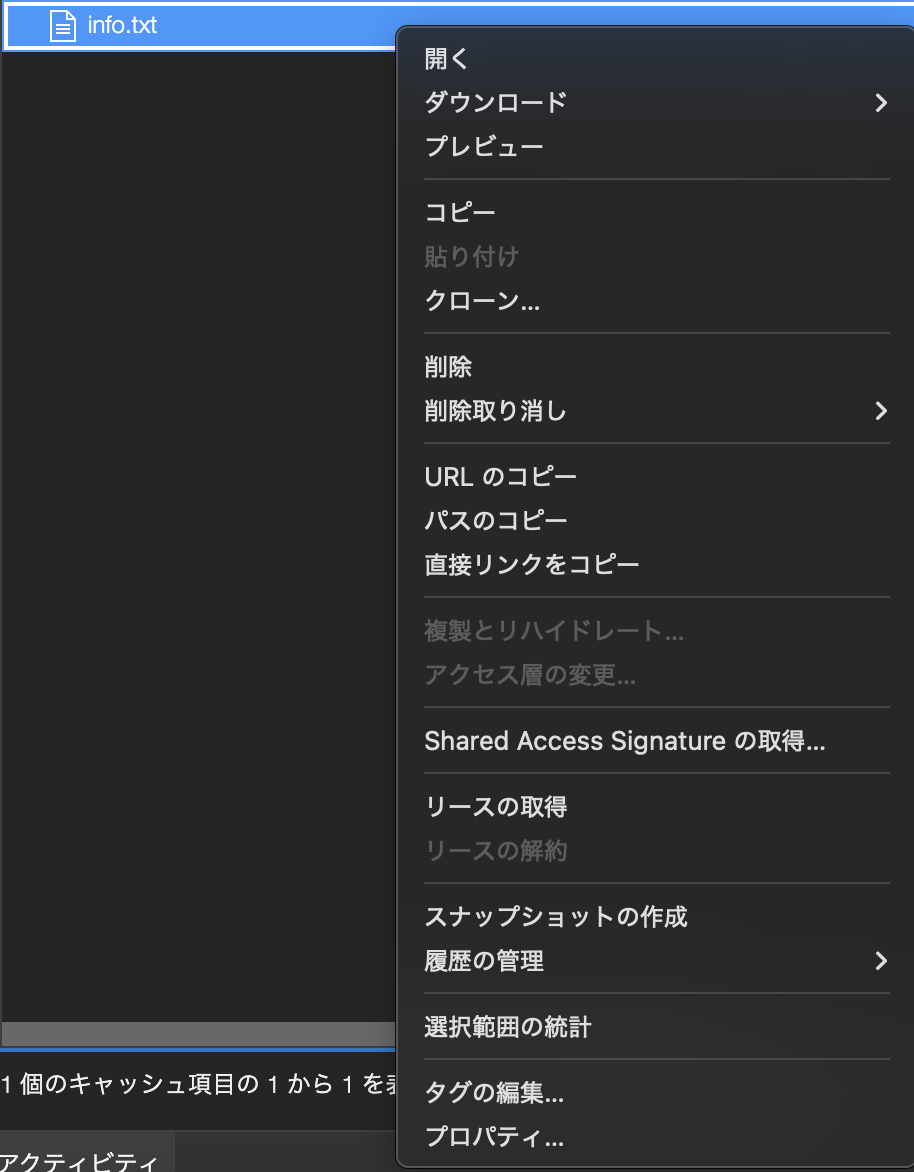
貼り付けできます。

しかし、Azuriteだとできない。というか、そもそも貼り付けというメニューがないです。
これもAZCopyで対応する必要があります。